


The more we talked about redoing the closet, the more things we found we wanted to change. So it turned into a complete gut job. And I'm proud to say that I did most of the gutting. I kindly let Tom remove the wire shelves (we'll be selling them), but I got to do the demo work.
I'm not ready to show off the the entire closet yet - some supports and trim still need to go on - but I will show you what we did to improve the laundry chute.
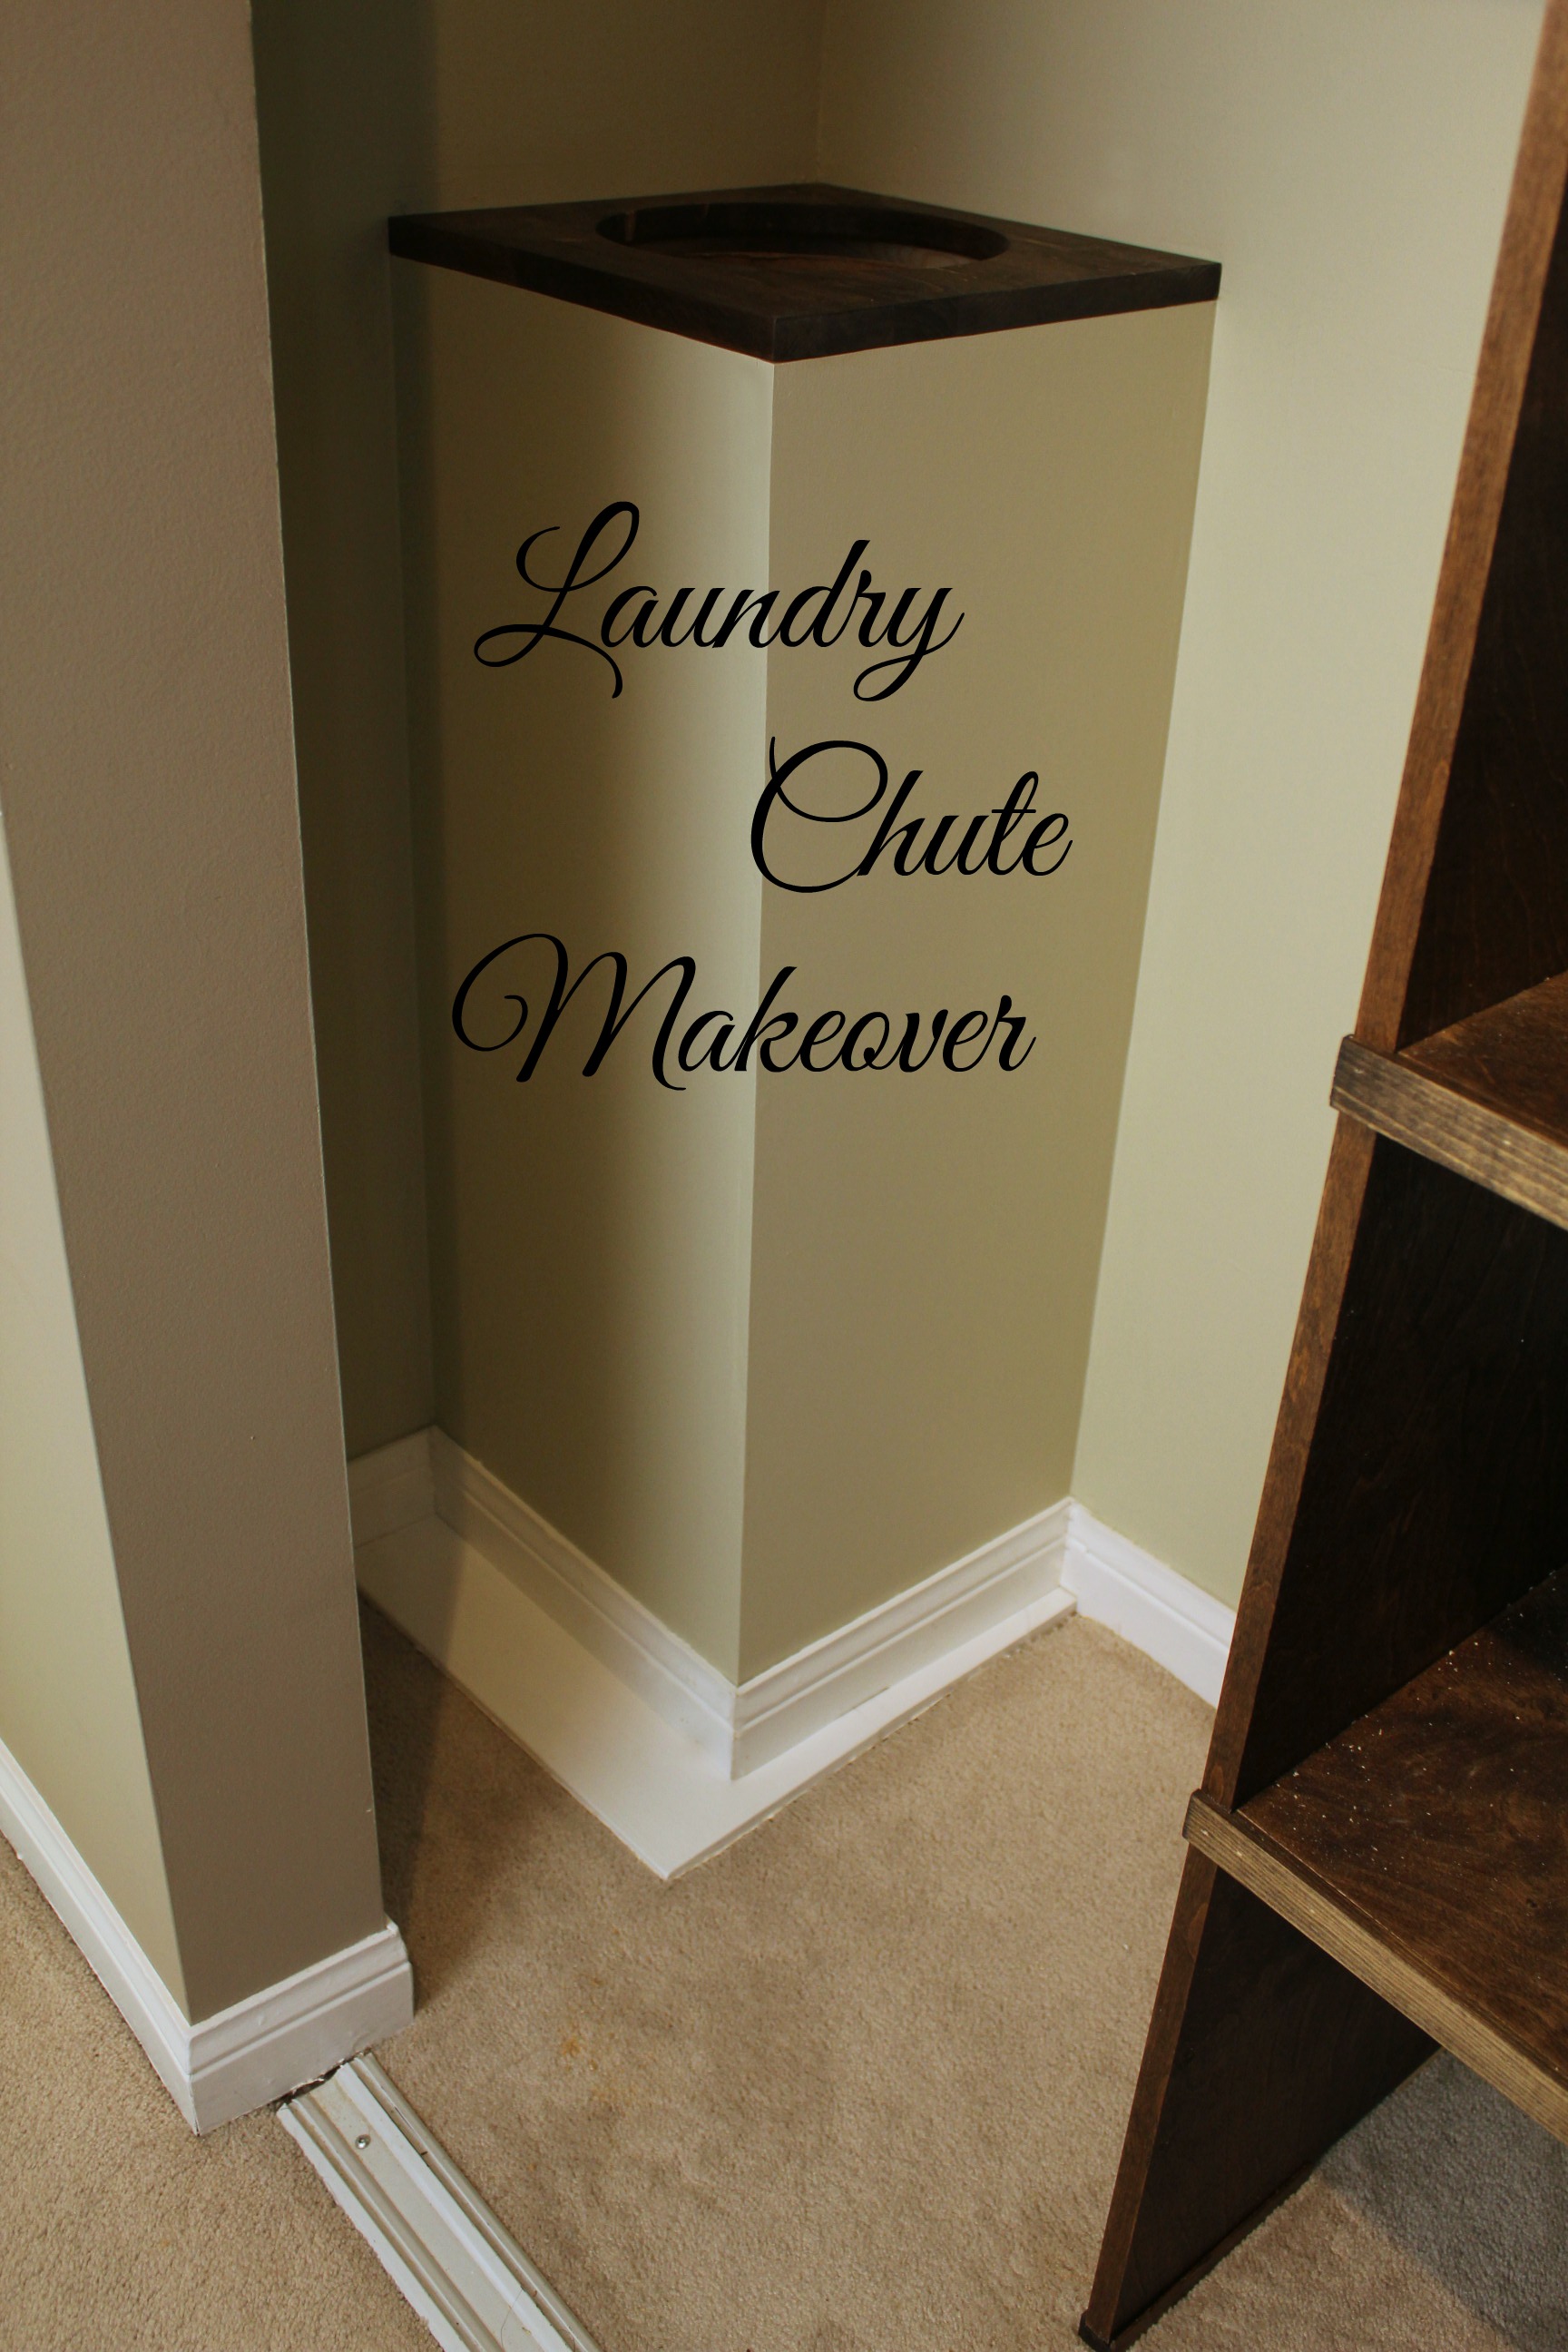
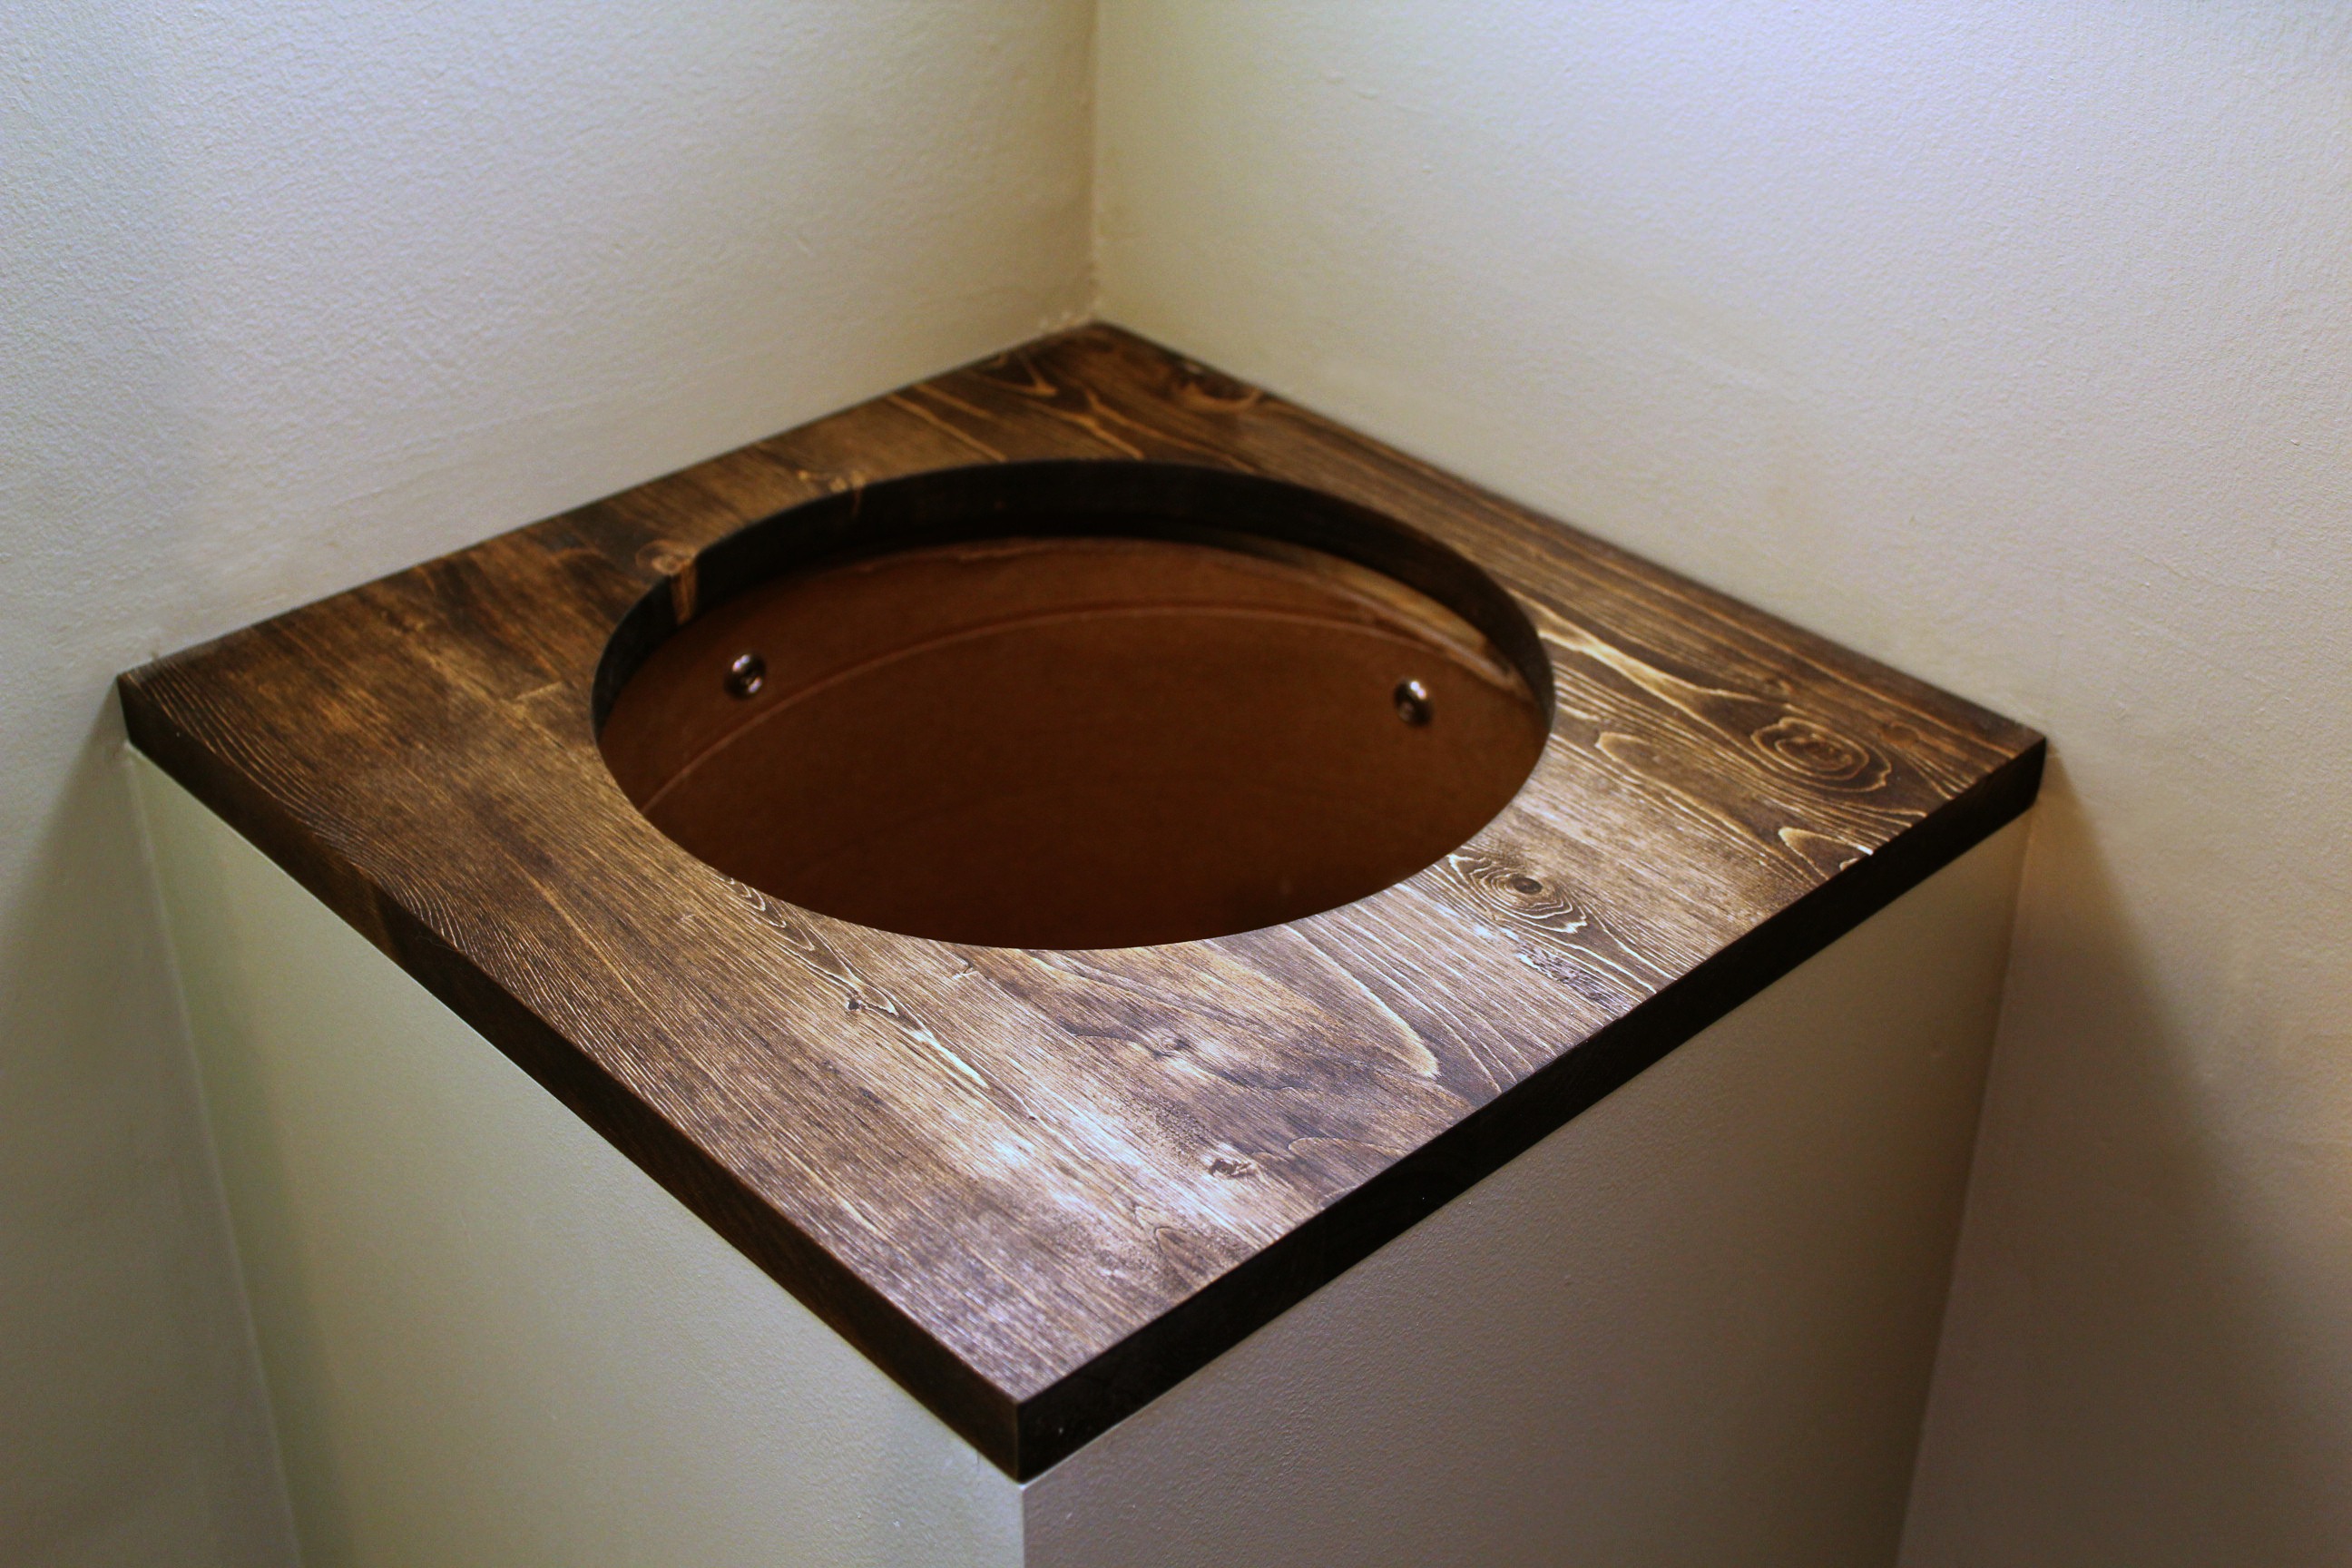
Do you have a laundry chute? Don't you just love it? Ours is hidden in the back corner of the linen closet, and it is a godsend as far as keeping the upstairs tidy. I have no idea where we would find room to store laundry baskets otherwise. But the construction of this one was a rushed job, you could tell. The mudding was lumpy and the top & cover were made of cheap plywood. We decided to take it apart and re-build it.
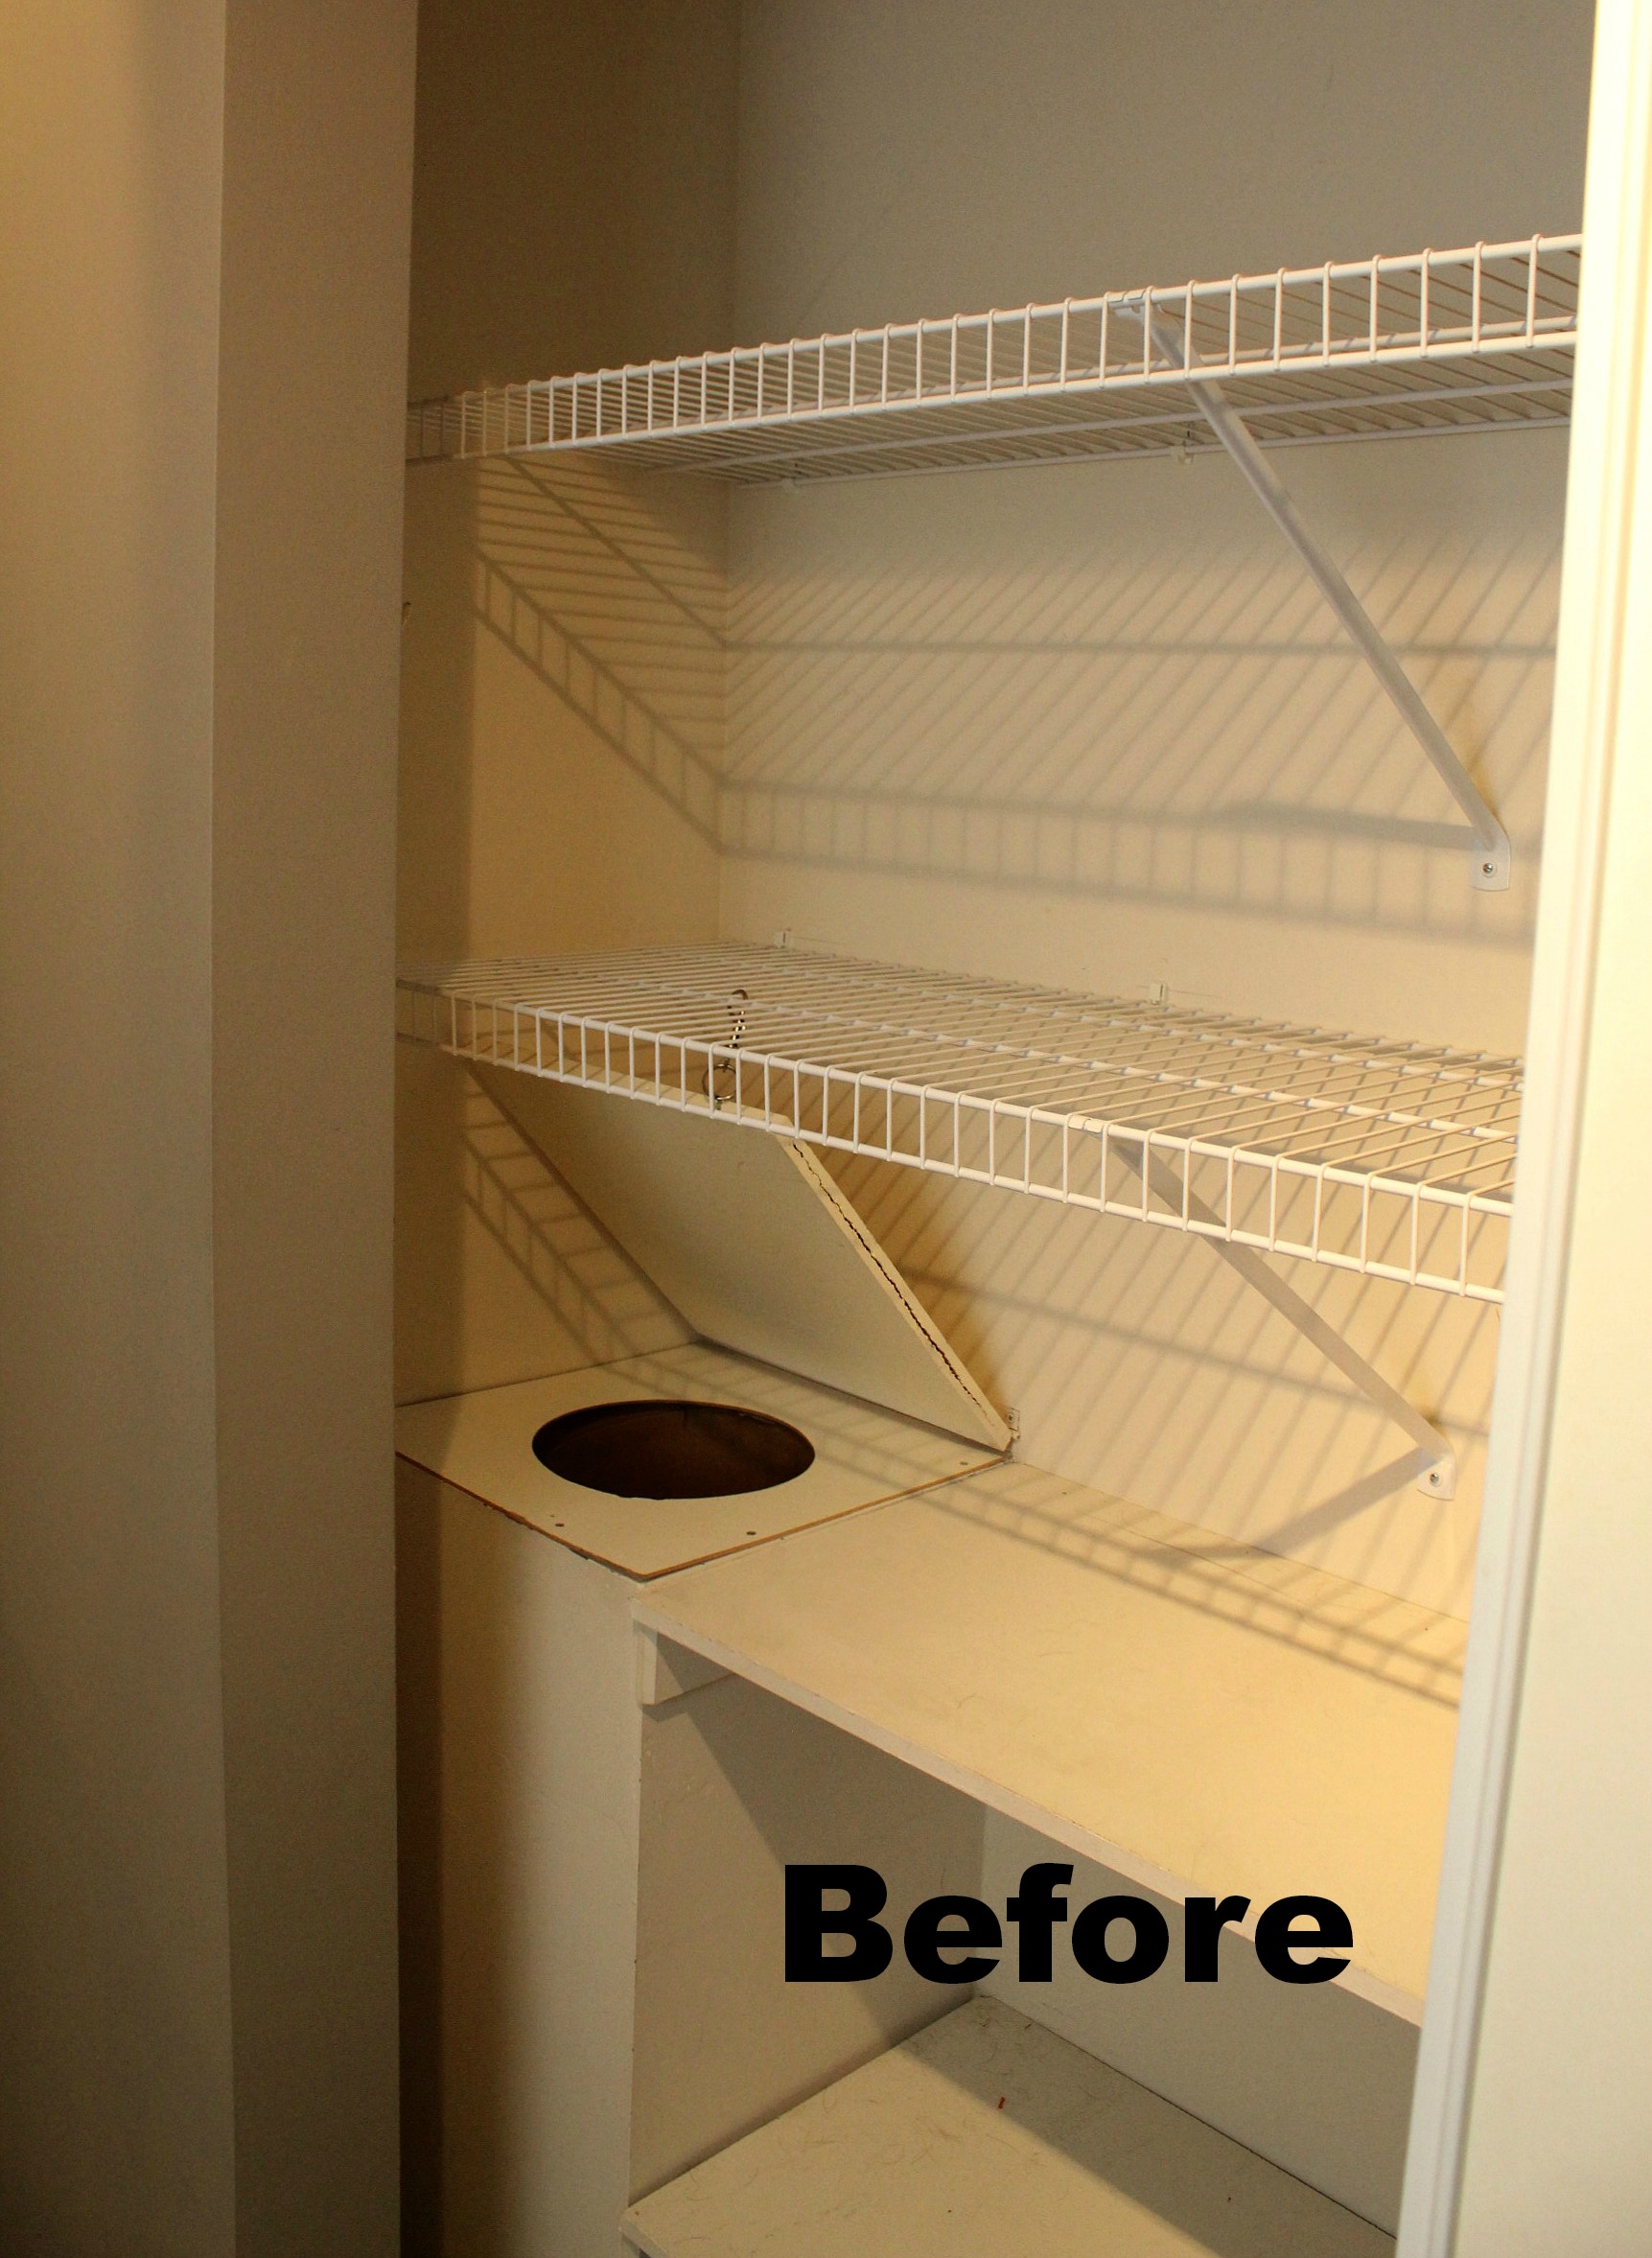

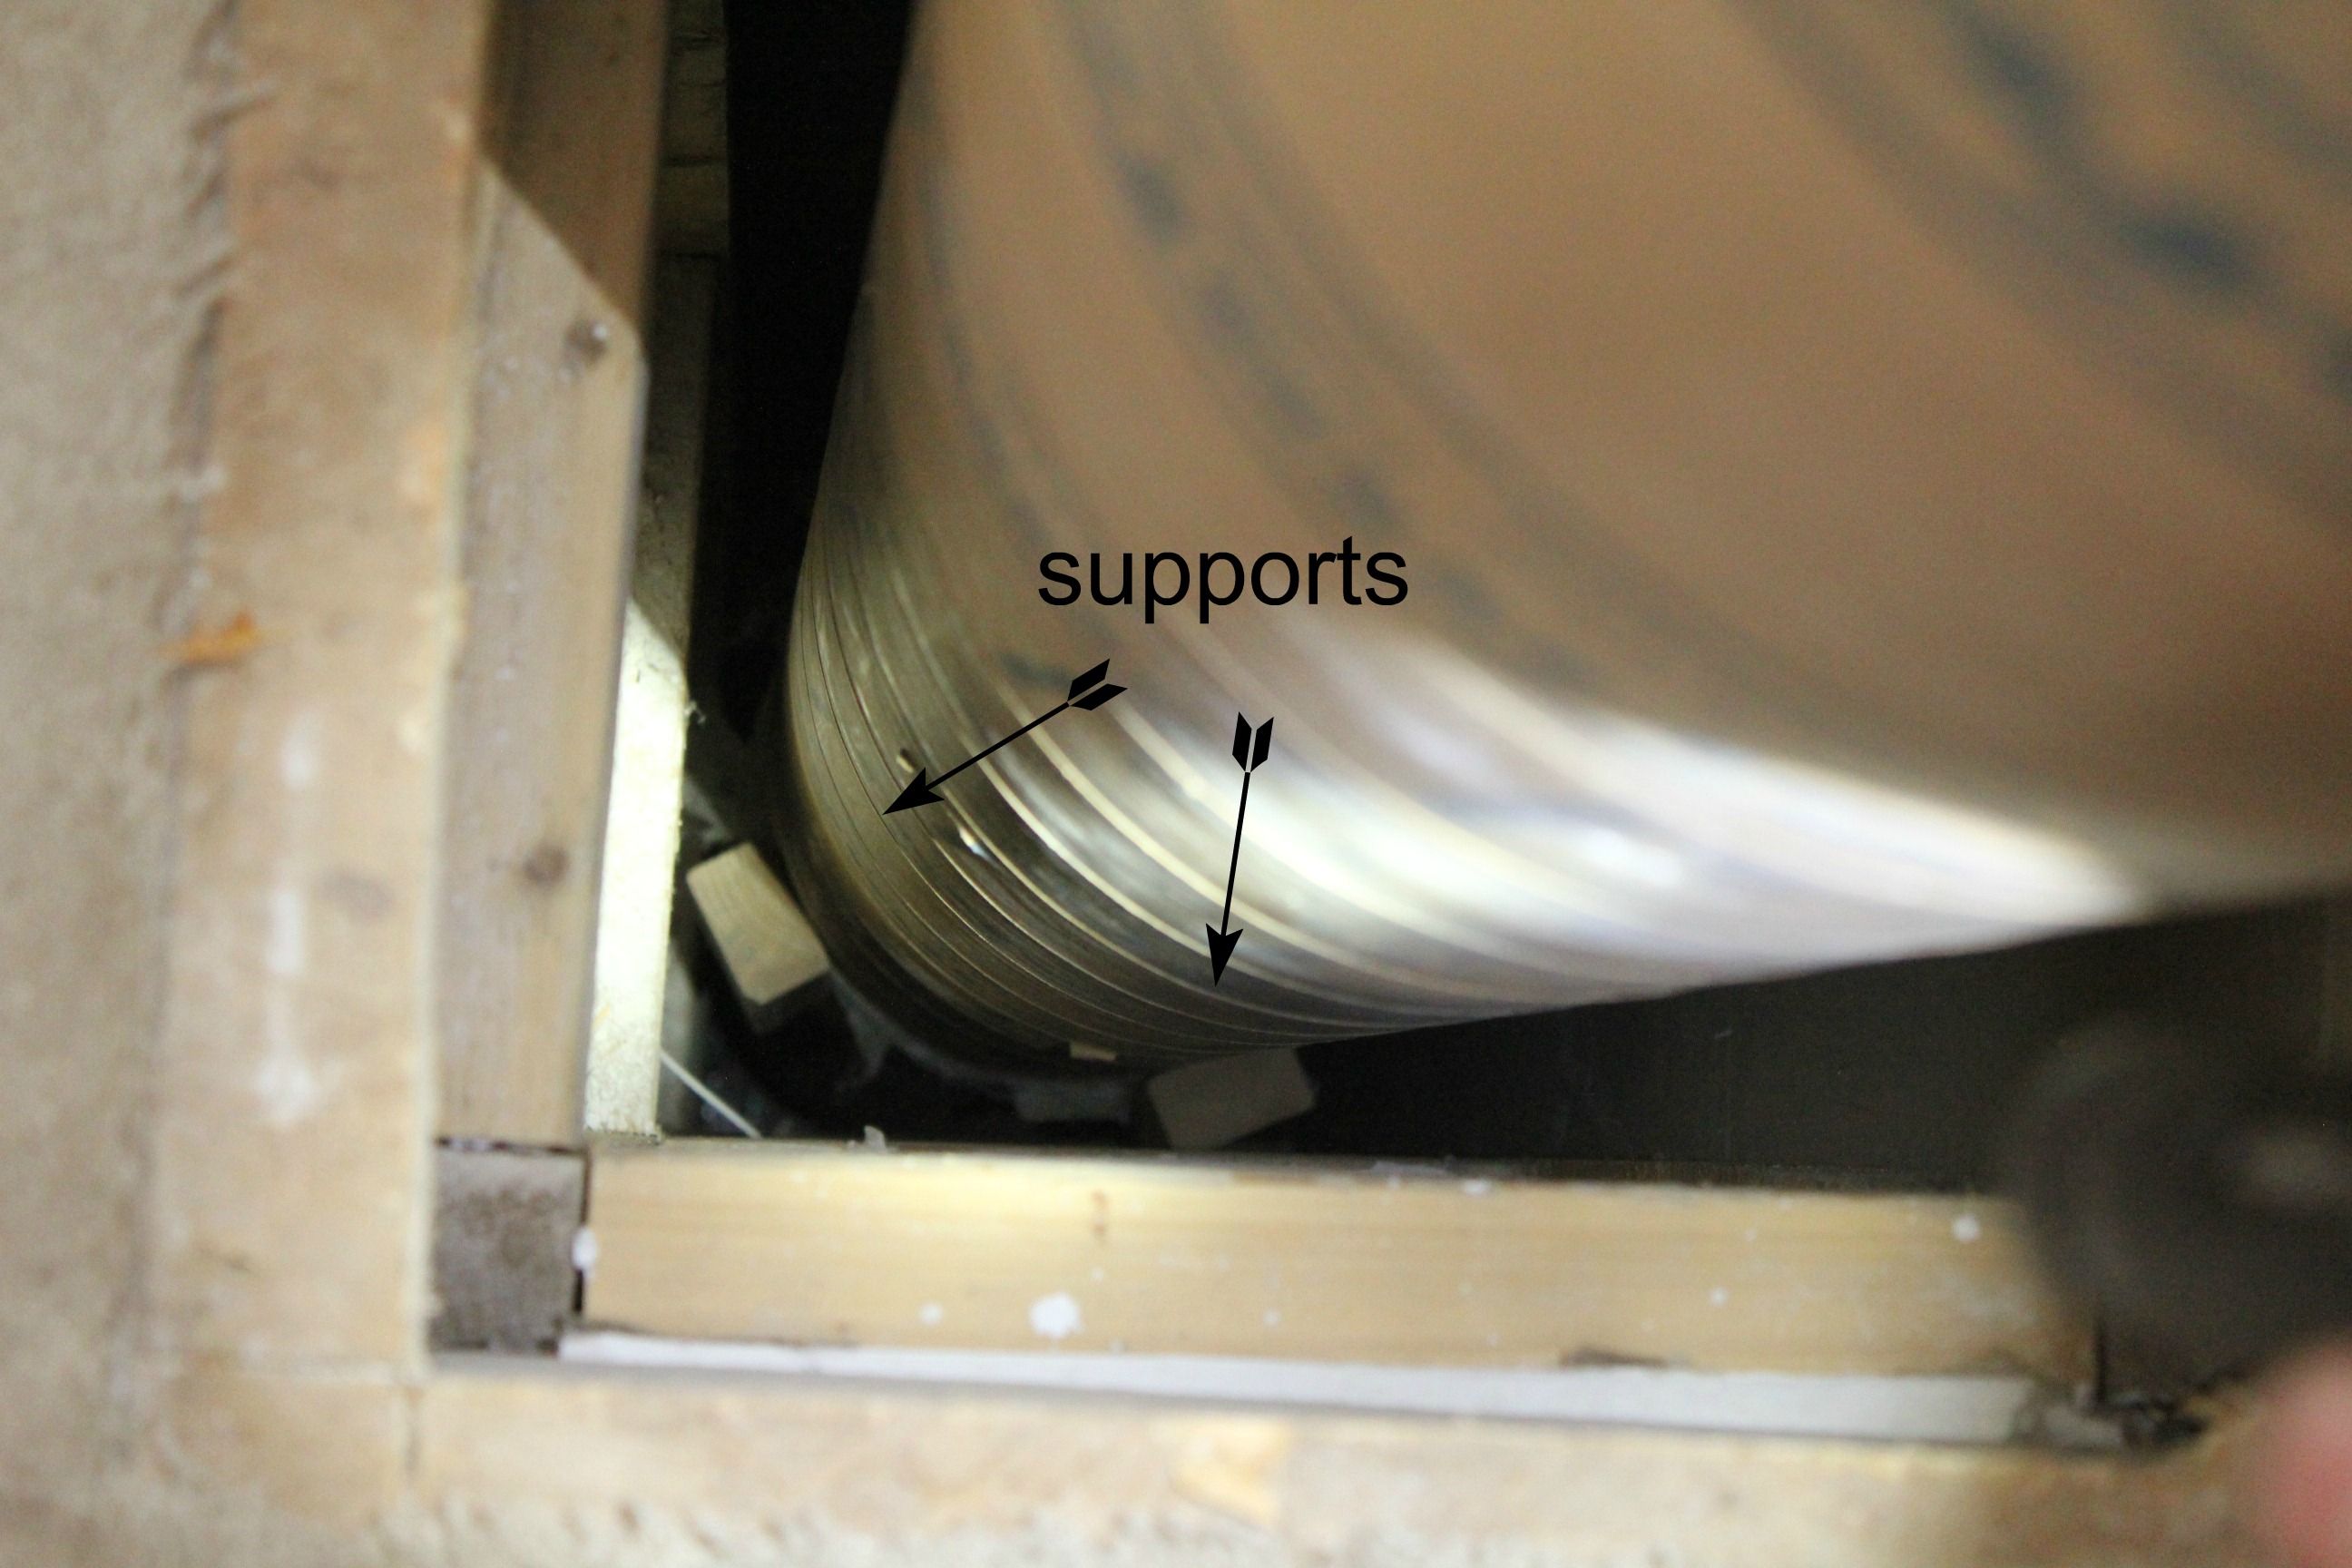
The laundry chute is actually two sonotubes taped together (it goes from the second floor down into the basement) and the tape between them was letting go. We were worried that one of the tubes would eventually shift and clothes would get snagged on an edge. Tom pulled the top tube out and we considered how to get the two to fit together snugly. I did try to crawl down the chute to pull the tape off, but my hips said, "No." They don't lie.
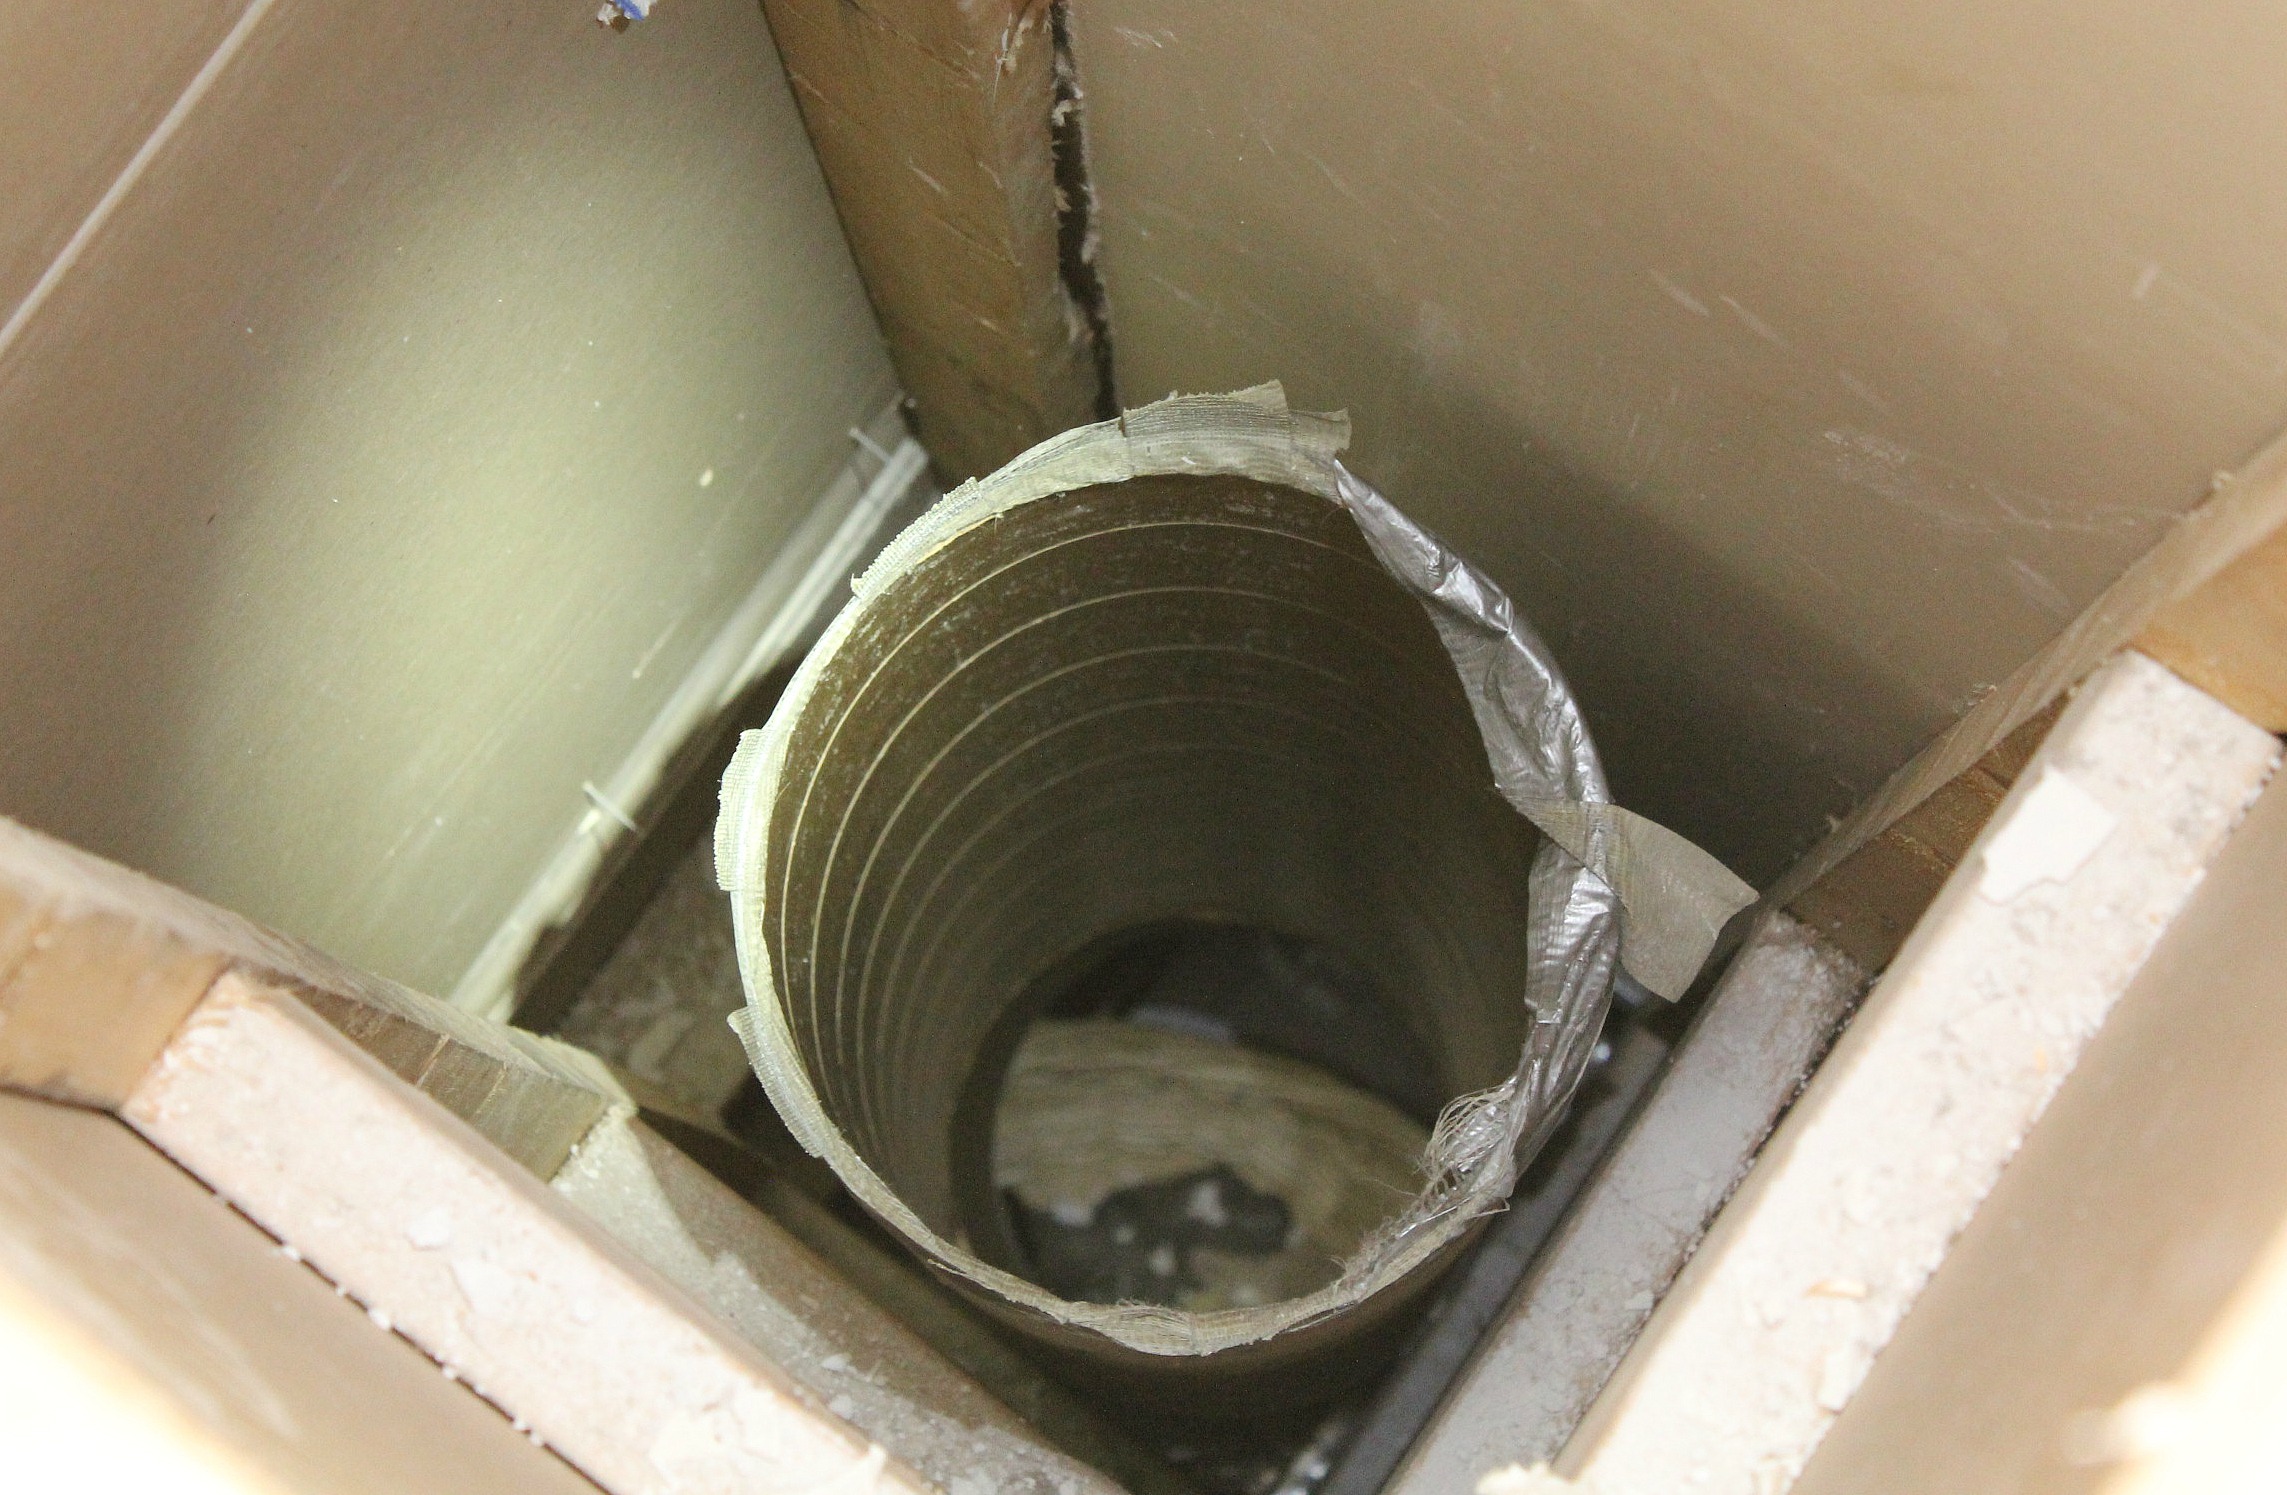
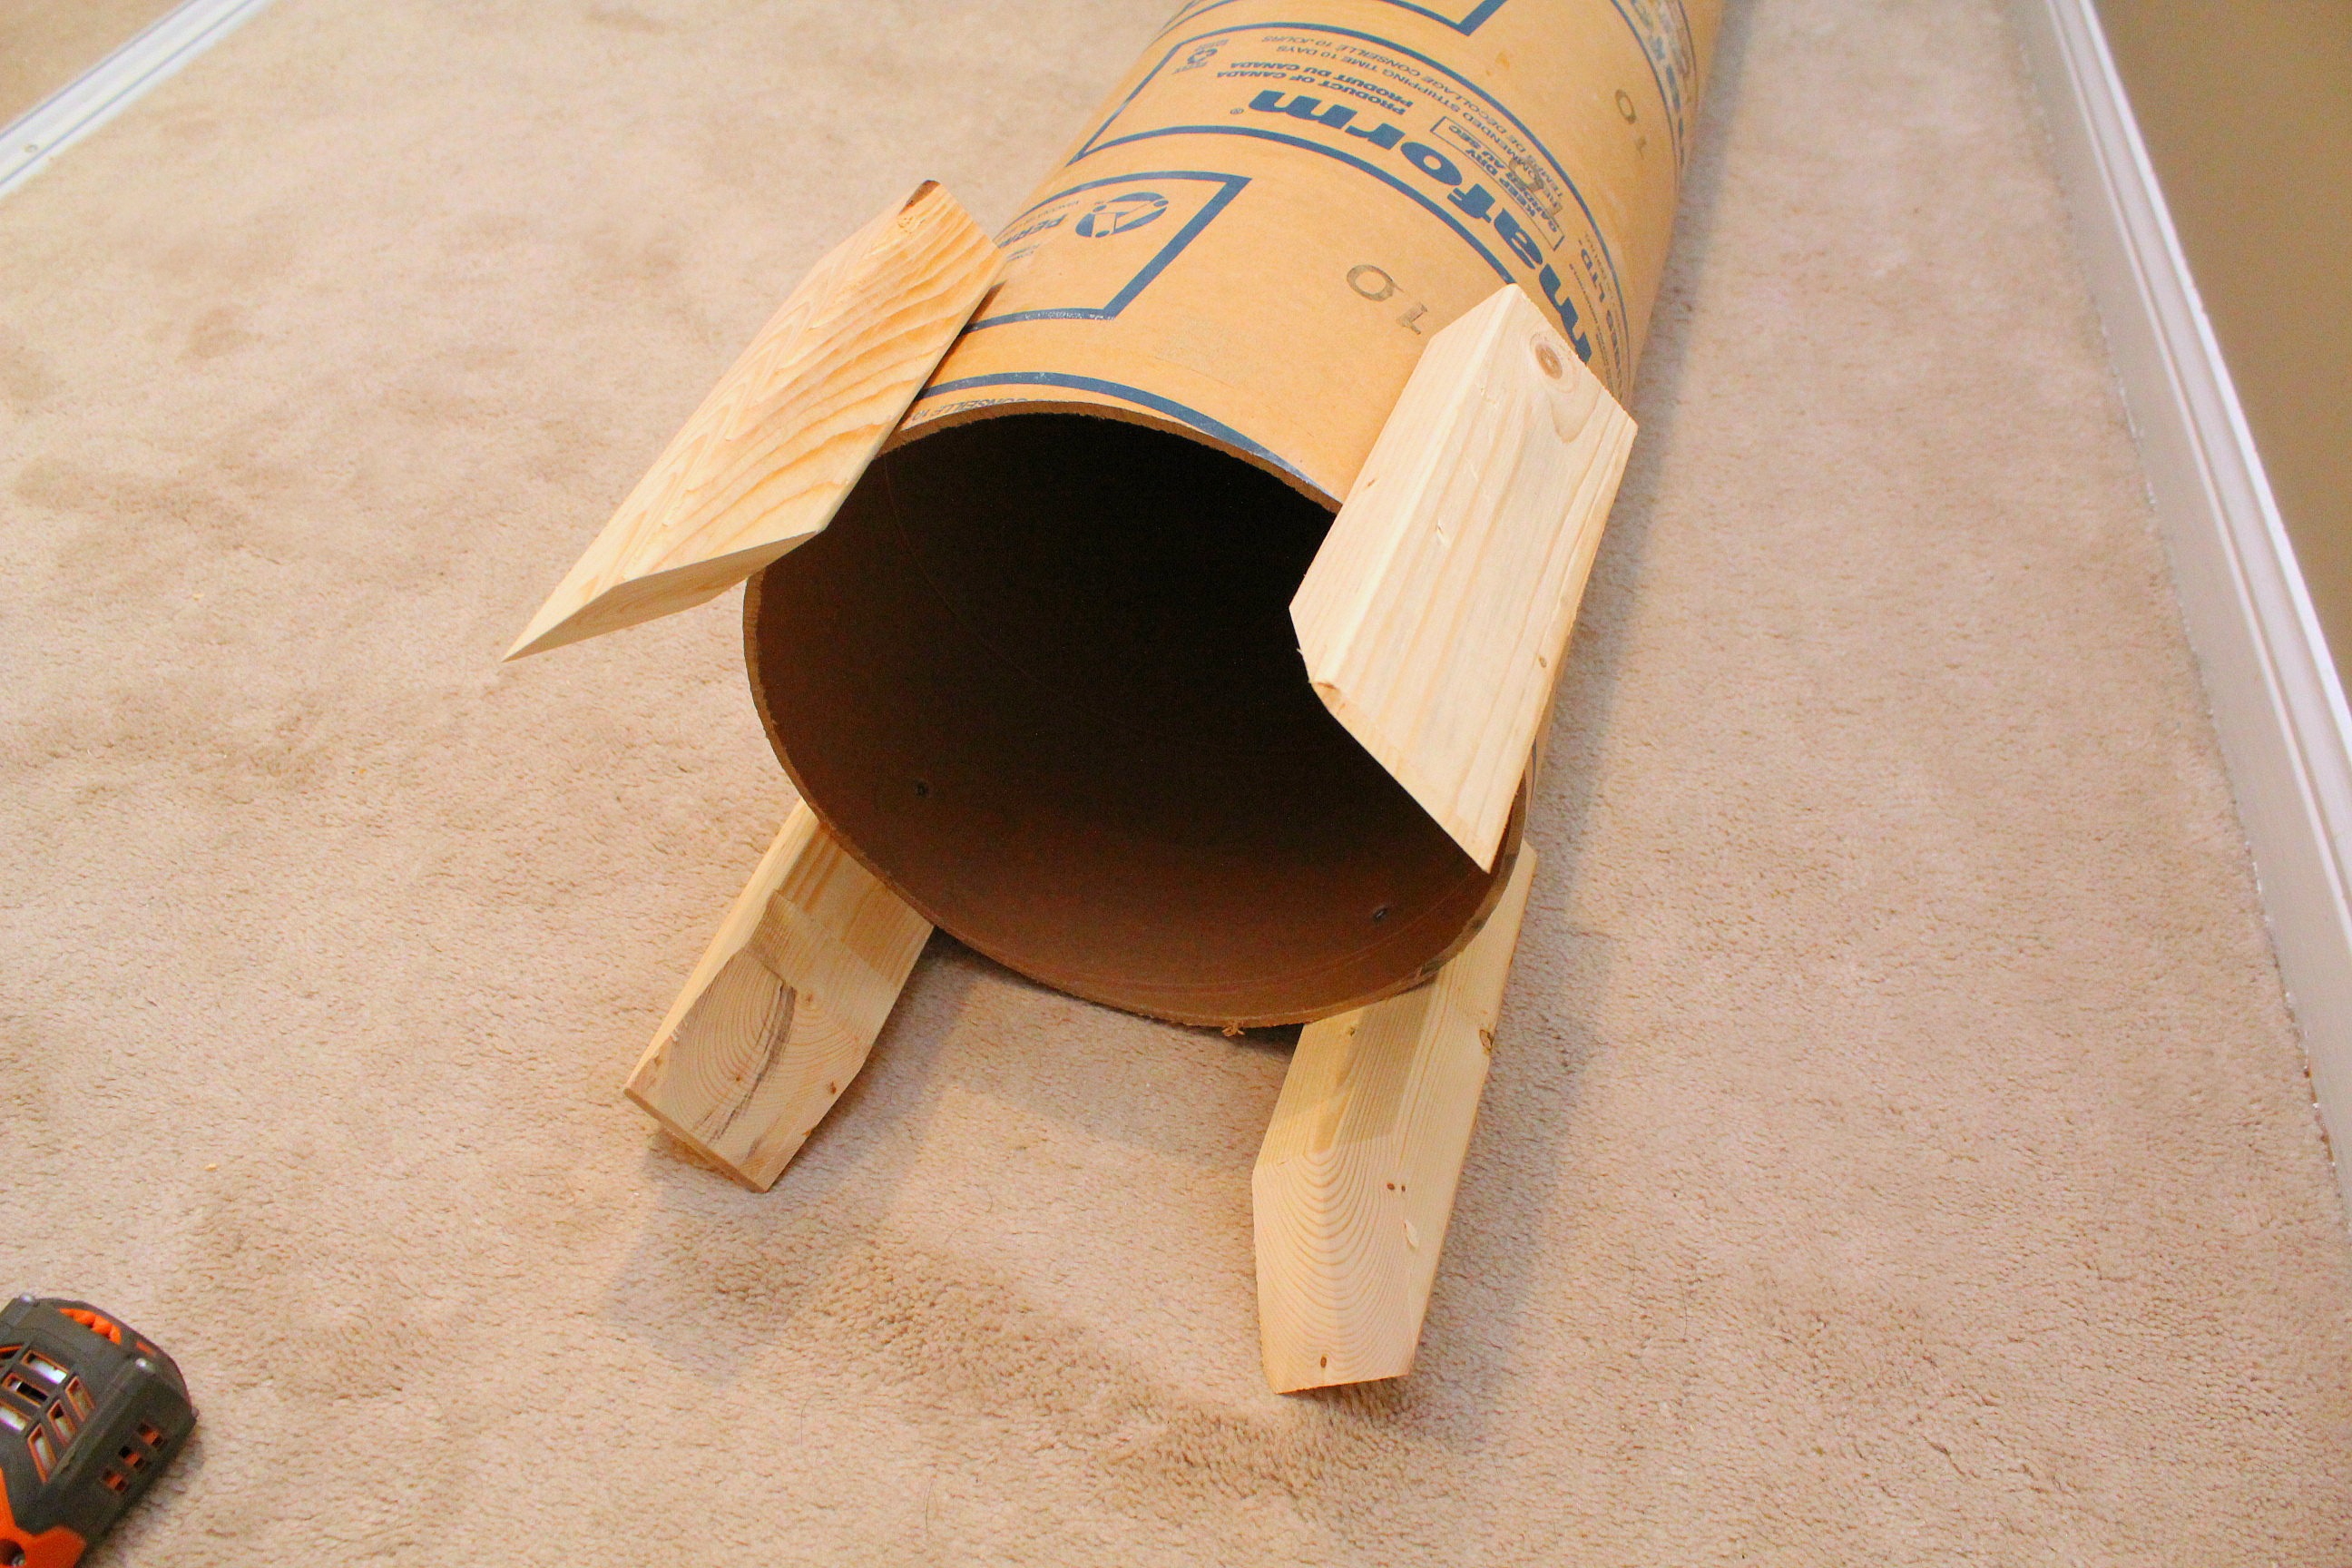
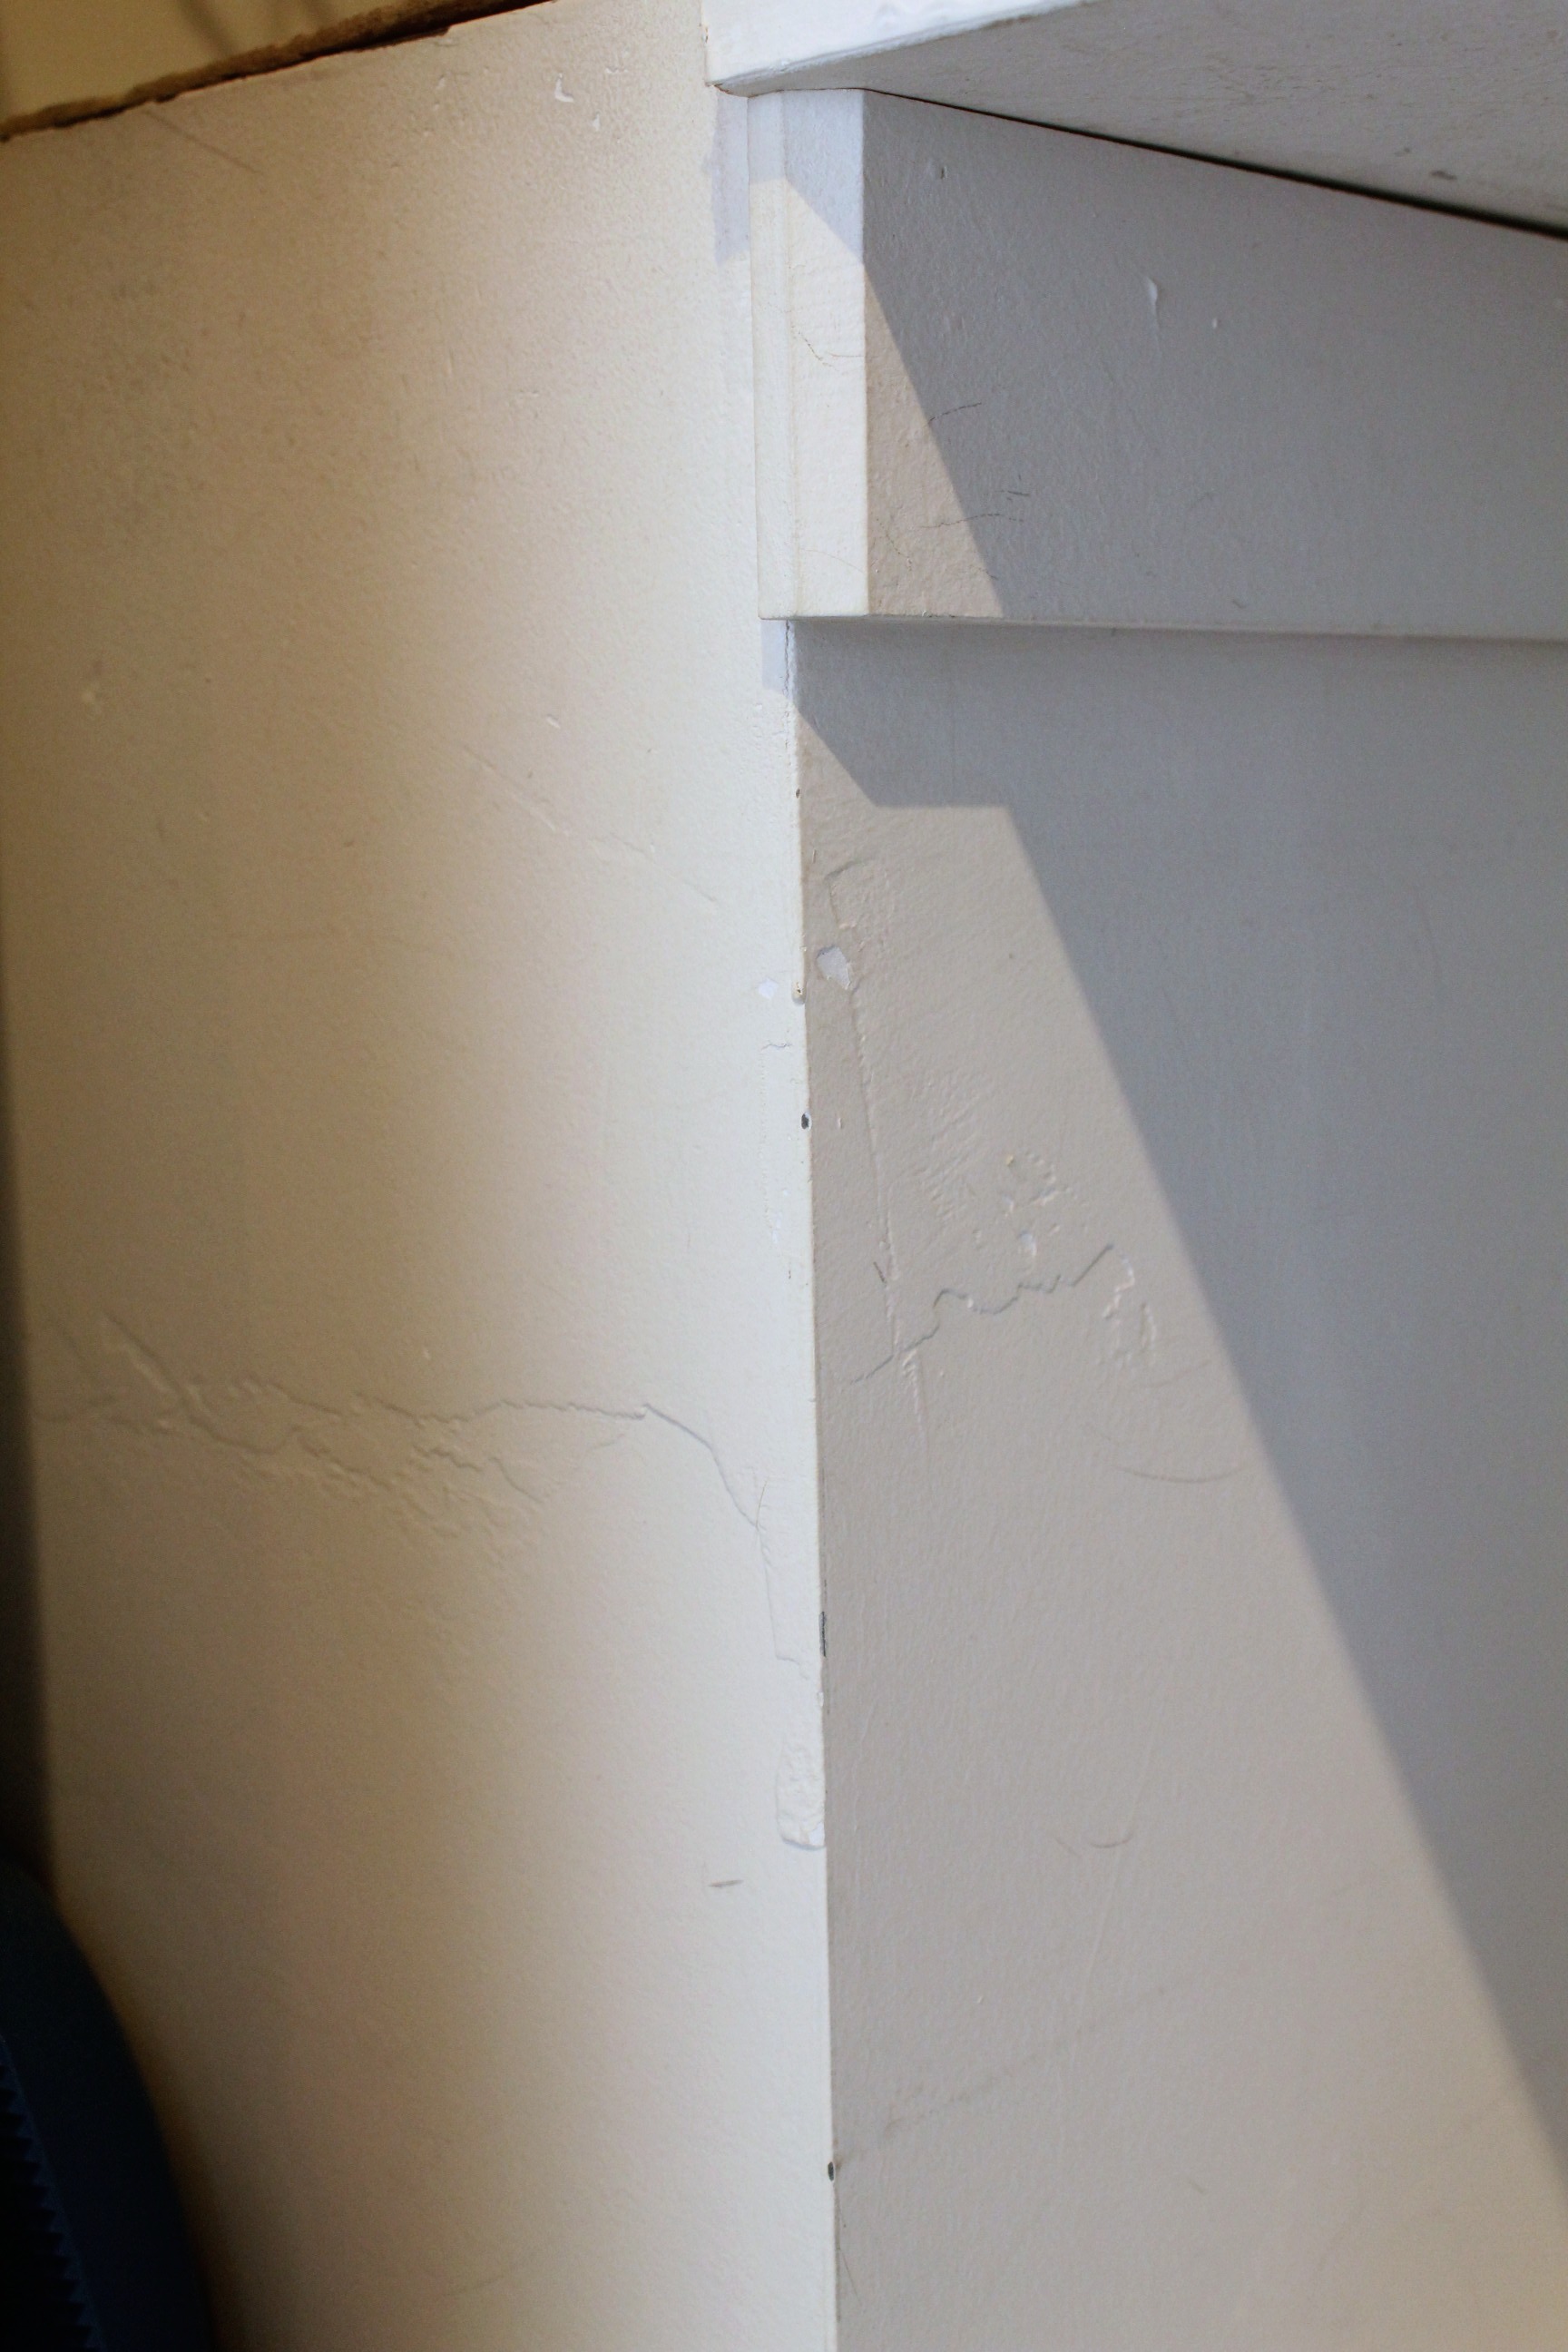
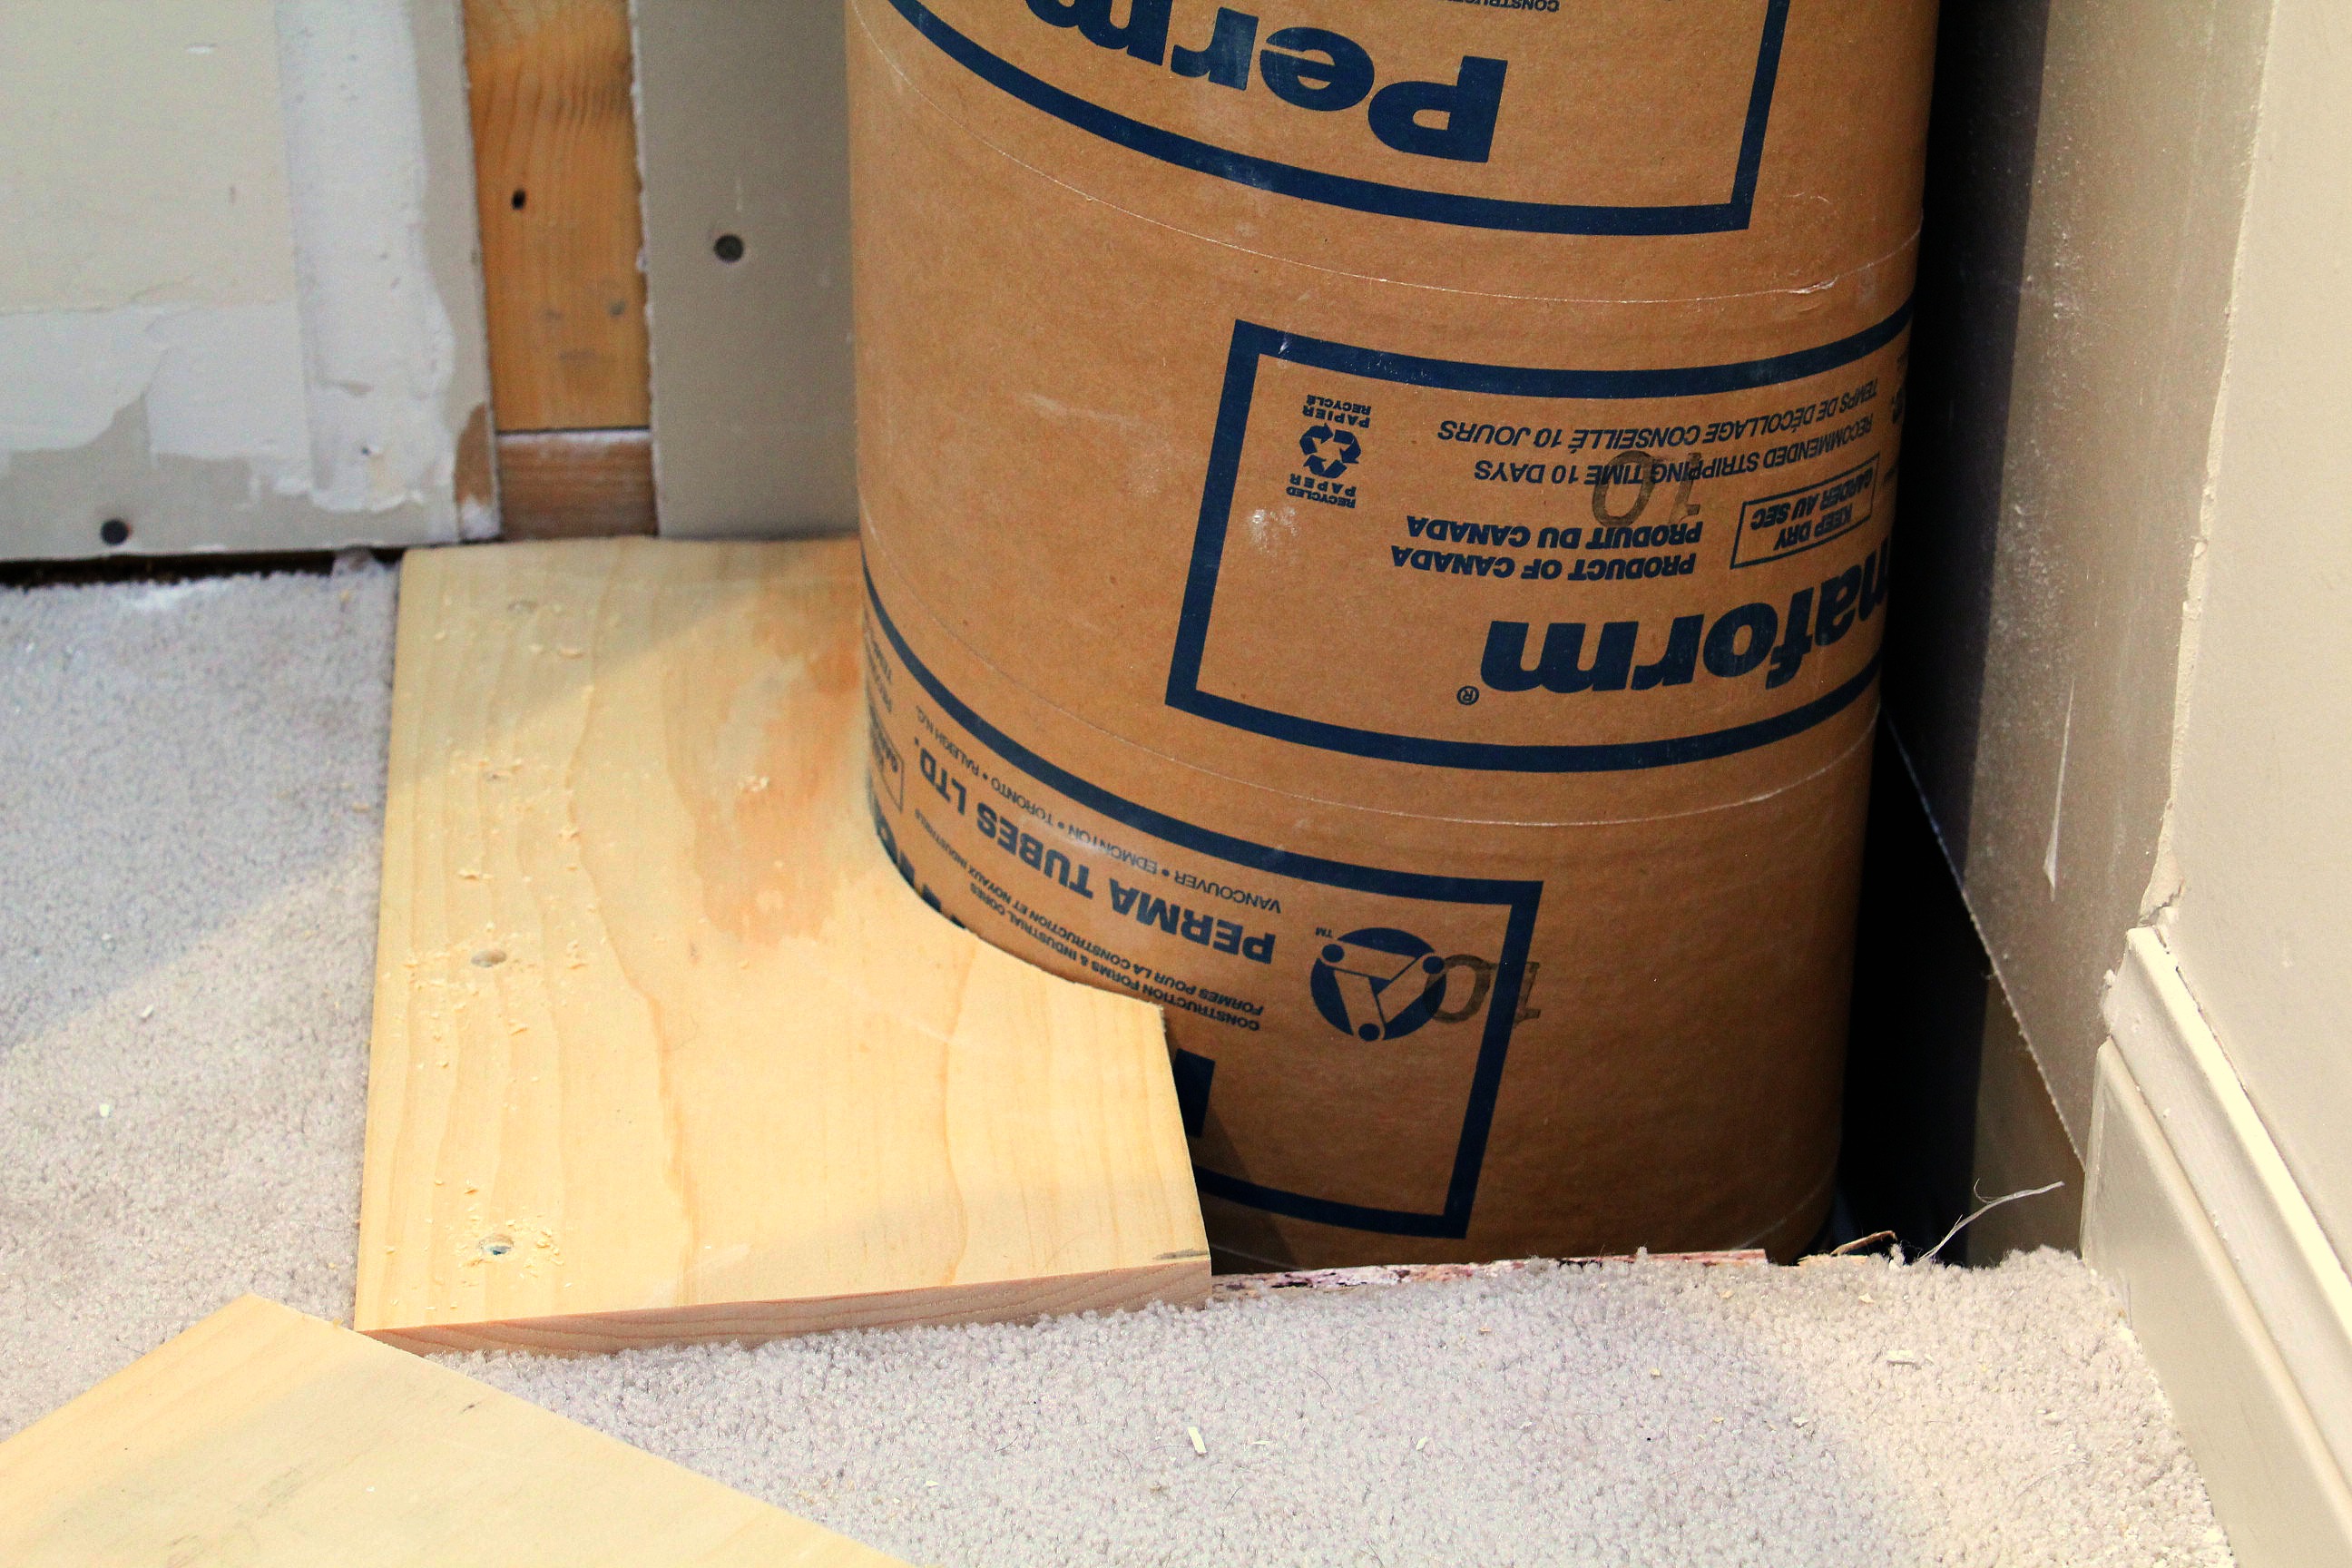
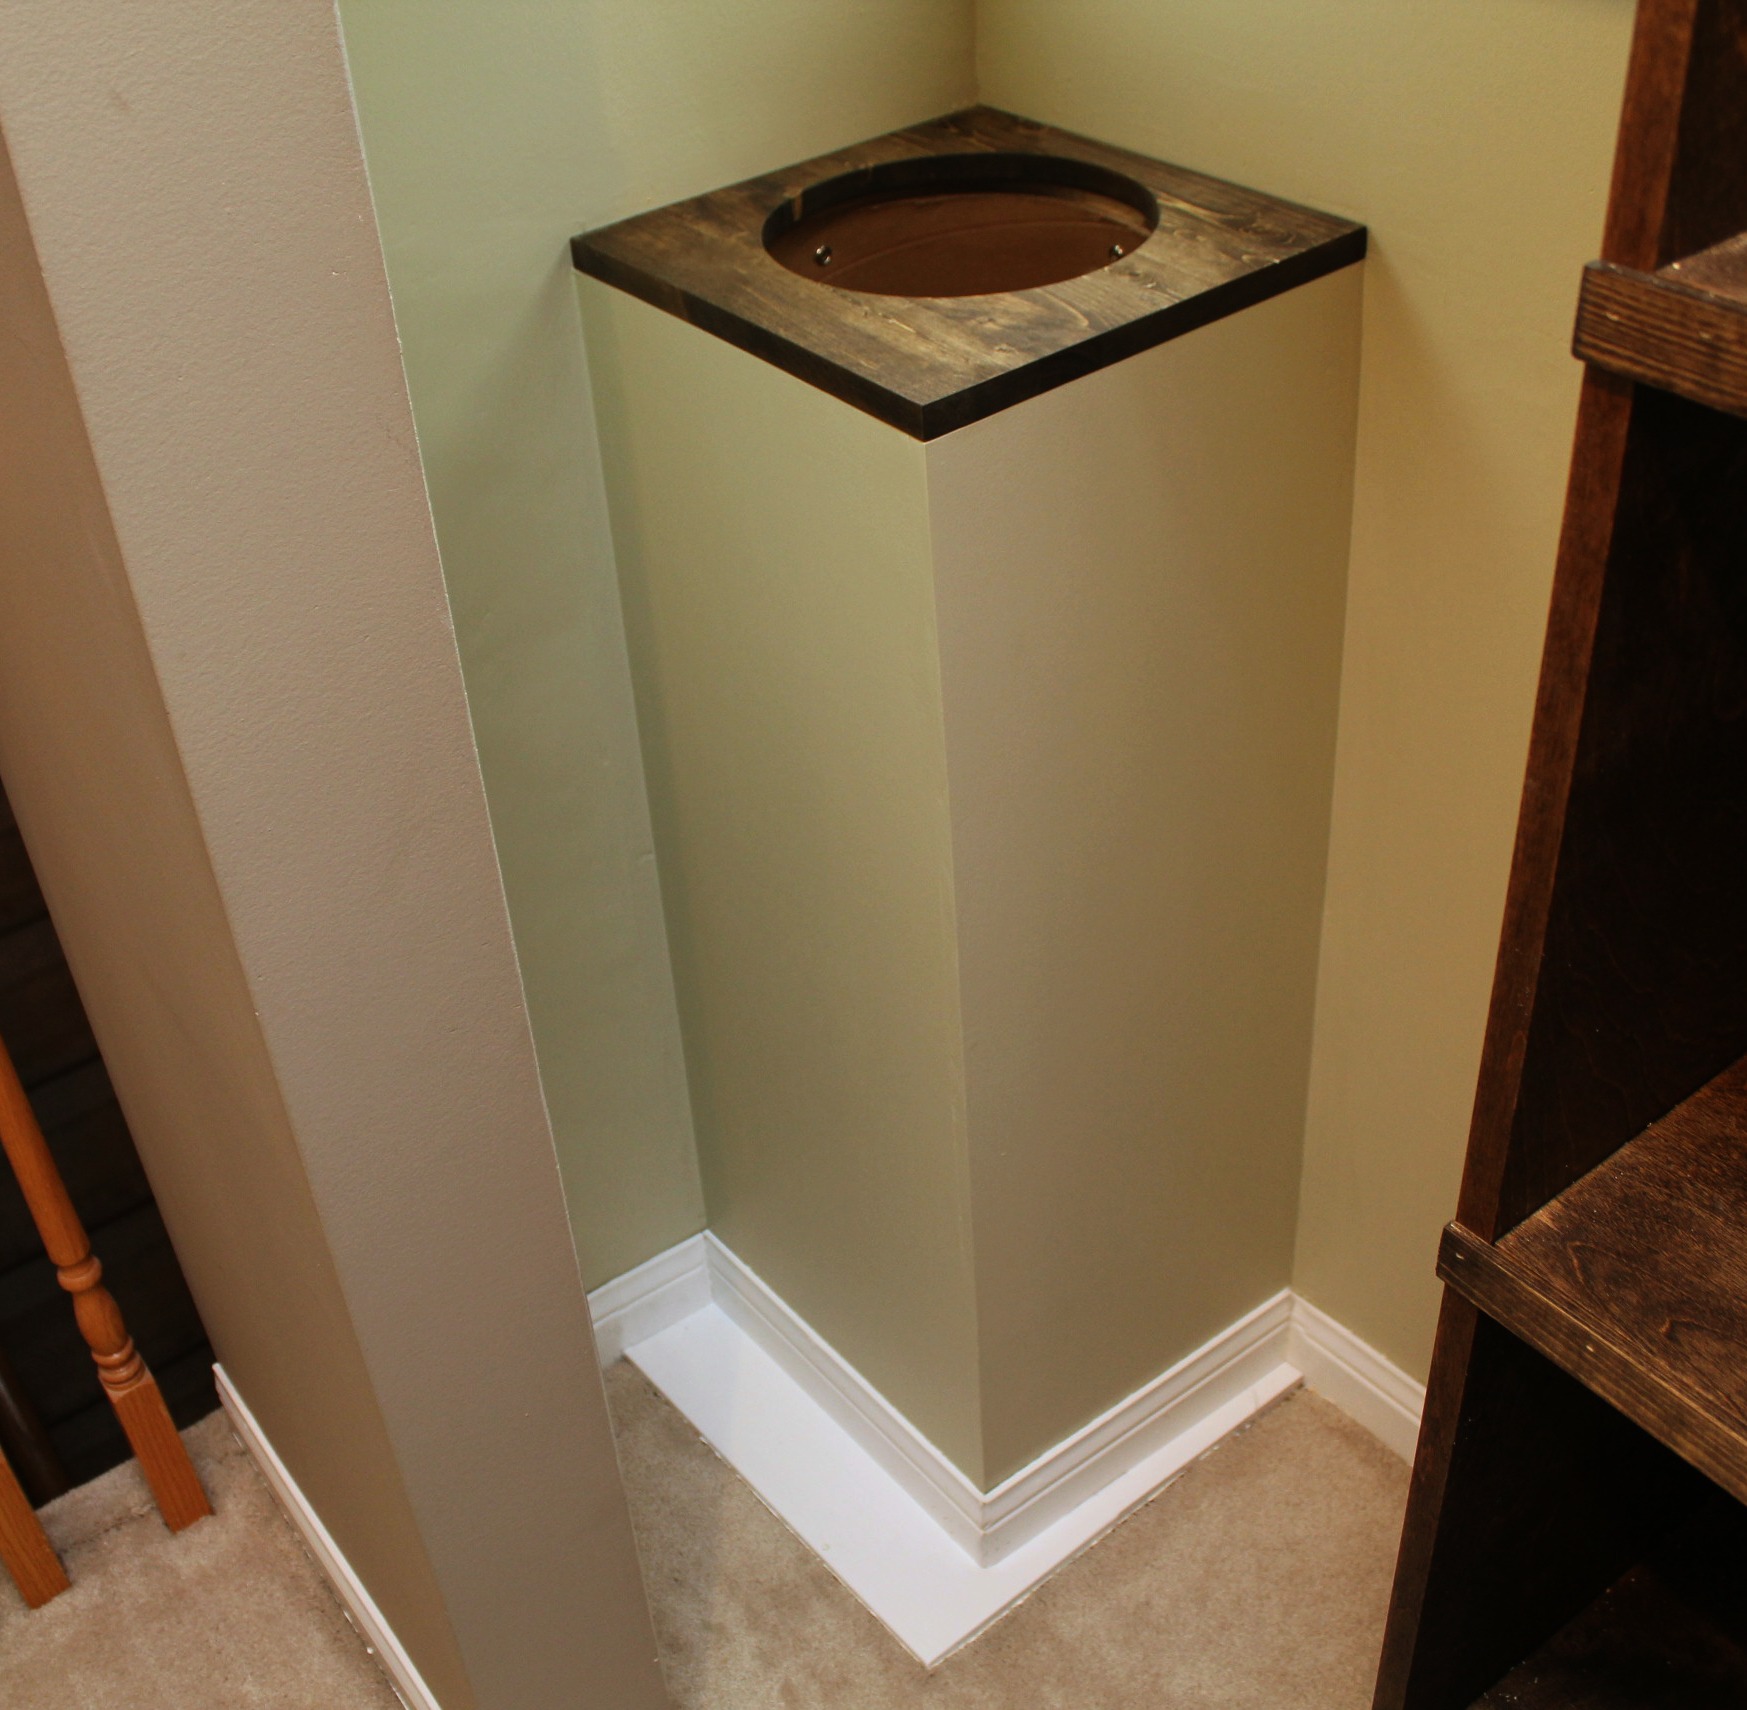
Because the old frame was larger, there was an area on the floor of the closet that wasn't carpeted. We could have just put down some trim to fill in the space, but Tom wanted the tube to be even more secure. Tom cut two pieces of 1x8 to the correct length and then cut one side of each board on a curve so that the boards wrapped around the chute. I think we could throw bowling balls down this chute and it wouldn't move.
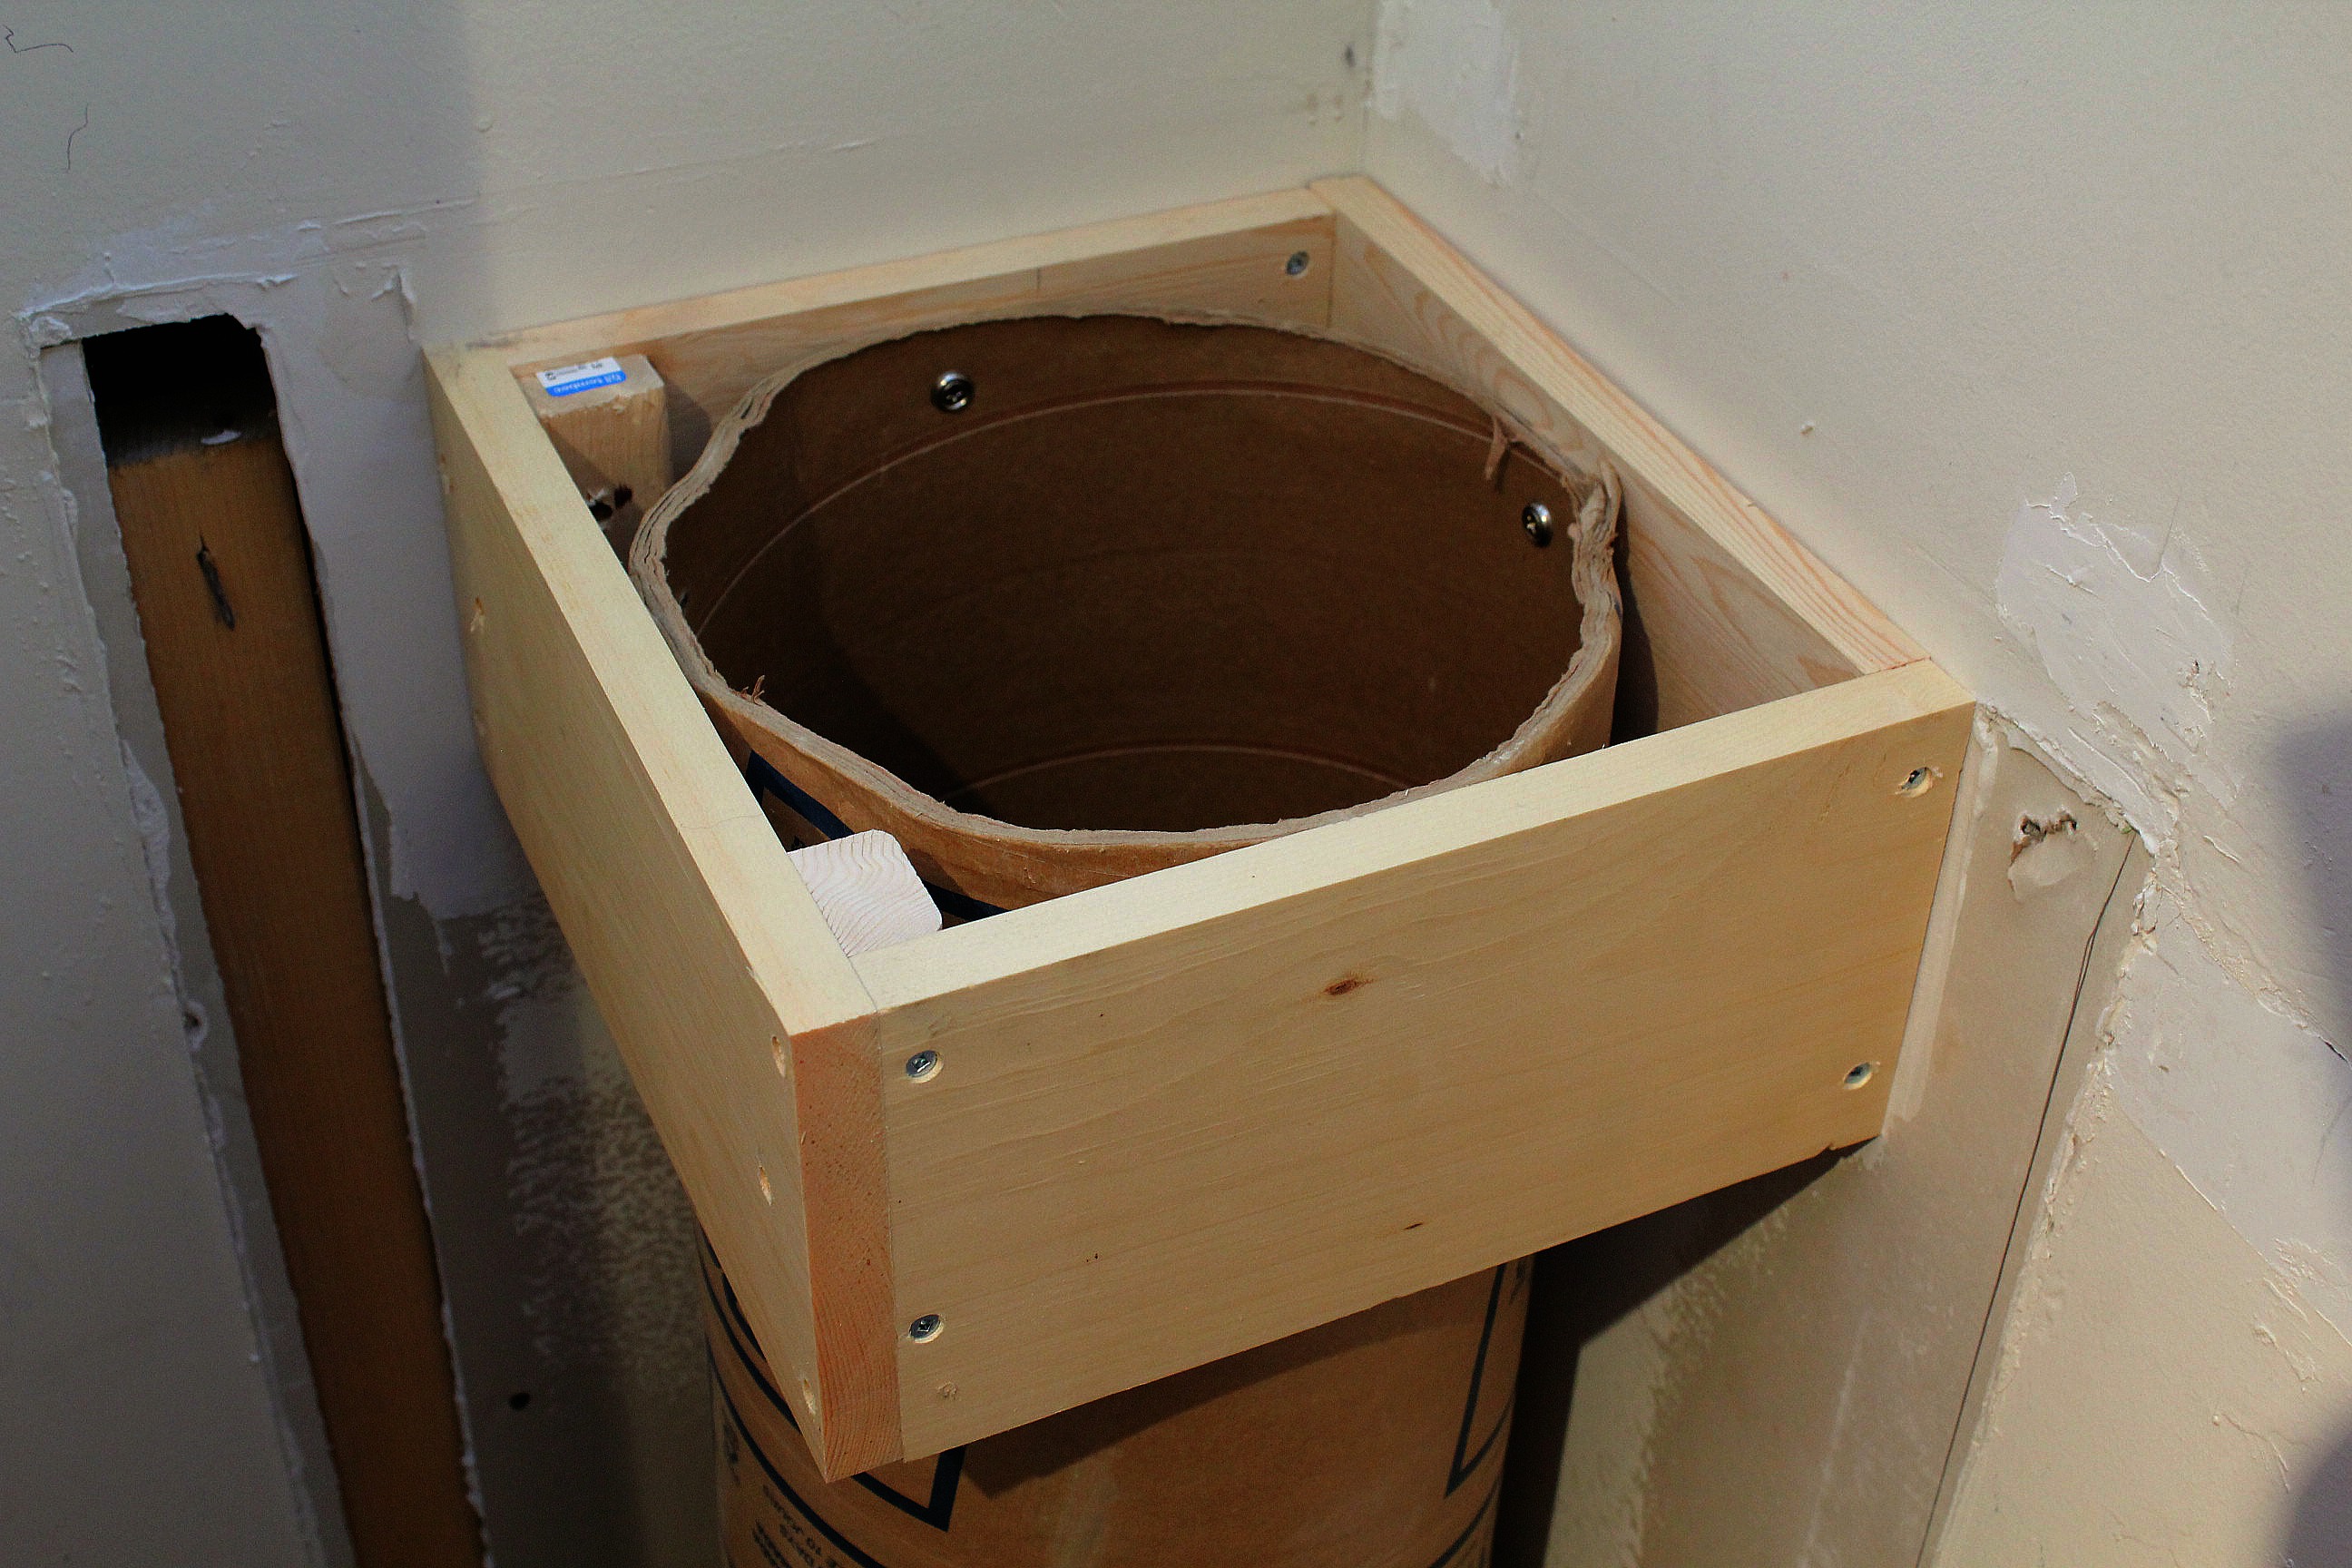
Instead of drywall we used two pieces of high-grade plywood to box it in. I caulked the seams between the walls and the plywood and puttied all of the screw holes. The boards on the floor got two coats of white semi-gloss paint to go with the trim, and the walls of the chute were painted to match the walls of the closet.

The top of the chute is a piece of 12x12 1 inch pine with a circle cut in the center. We decided to stain it to match the shelves in the rest of the closet (Jacobean from Minwax). I like the contrast between the dark wood and the light green walls.

Tonight we're finishing up the shelves, and then this coming weekend it's on to the doors. We're going to remove the sliding doors and add bi-folds like we did in the front hall. Can't wait!

4 comments:
Very nice. I know laundry shoots save a lot of time and backaches...now it looks as valuable as it should be. ~Kelly
unDeniably Domestic
Looks great!
And reminds me of my childhood..Everybody had a laundry chute growing up
but I haven't seen one in ages!
Maybe I can talk the hubby into a litty DIY project!
I never knew I wanted one - now I can't imagine not having it!
Thank you!
Post a Comment